If you need to make a digital copy of a paper document, you do not need to look for a scanner if you have an Android device at hand. It is enough to download an Android application that will replace the scanning device. A document photographed through such a program is automatically saved in PDF format... Moreover, the user has the ability to edit the image: crop the unnecessary part, change the color scheme.
Scanning applications
Programs for creating electronic versions of documents from paper carriers work according to the same principle. You take a photograph of a sheet of paper, and the application processes the photograph, forming a digital copy. Image quality depends on the camera - the higher the resolution, the clearer the text will be. The document scanner can slightly improve the quality by changing the color scheme, but if the camera is completely poor, it will not help much. Also, to get a good image:
- Shoot so that the entire document is in the frame. You do not need to hold the camera at an angle, as it will be difficult for the application to recognize the text, and part of the document may be out of focus.
- Place the paper version on a flat, lighted surface. If there is not enough light, turn on the flash.
- Remove the document from the plastic file to eliminate glare and other distortion.
Let's take a look at several scanning applications. All of them cope with the task, but offer different functionality, so when choosing, you need to understand what you want from a scanner on Android.
Google drive
Probably the most convenient way scan and upload a document - use the Google Drive app. Most users do not even suspect that it has such an opportunity.
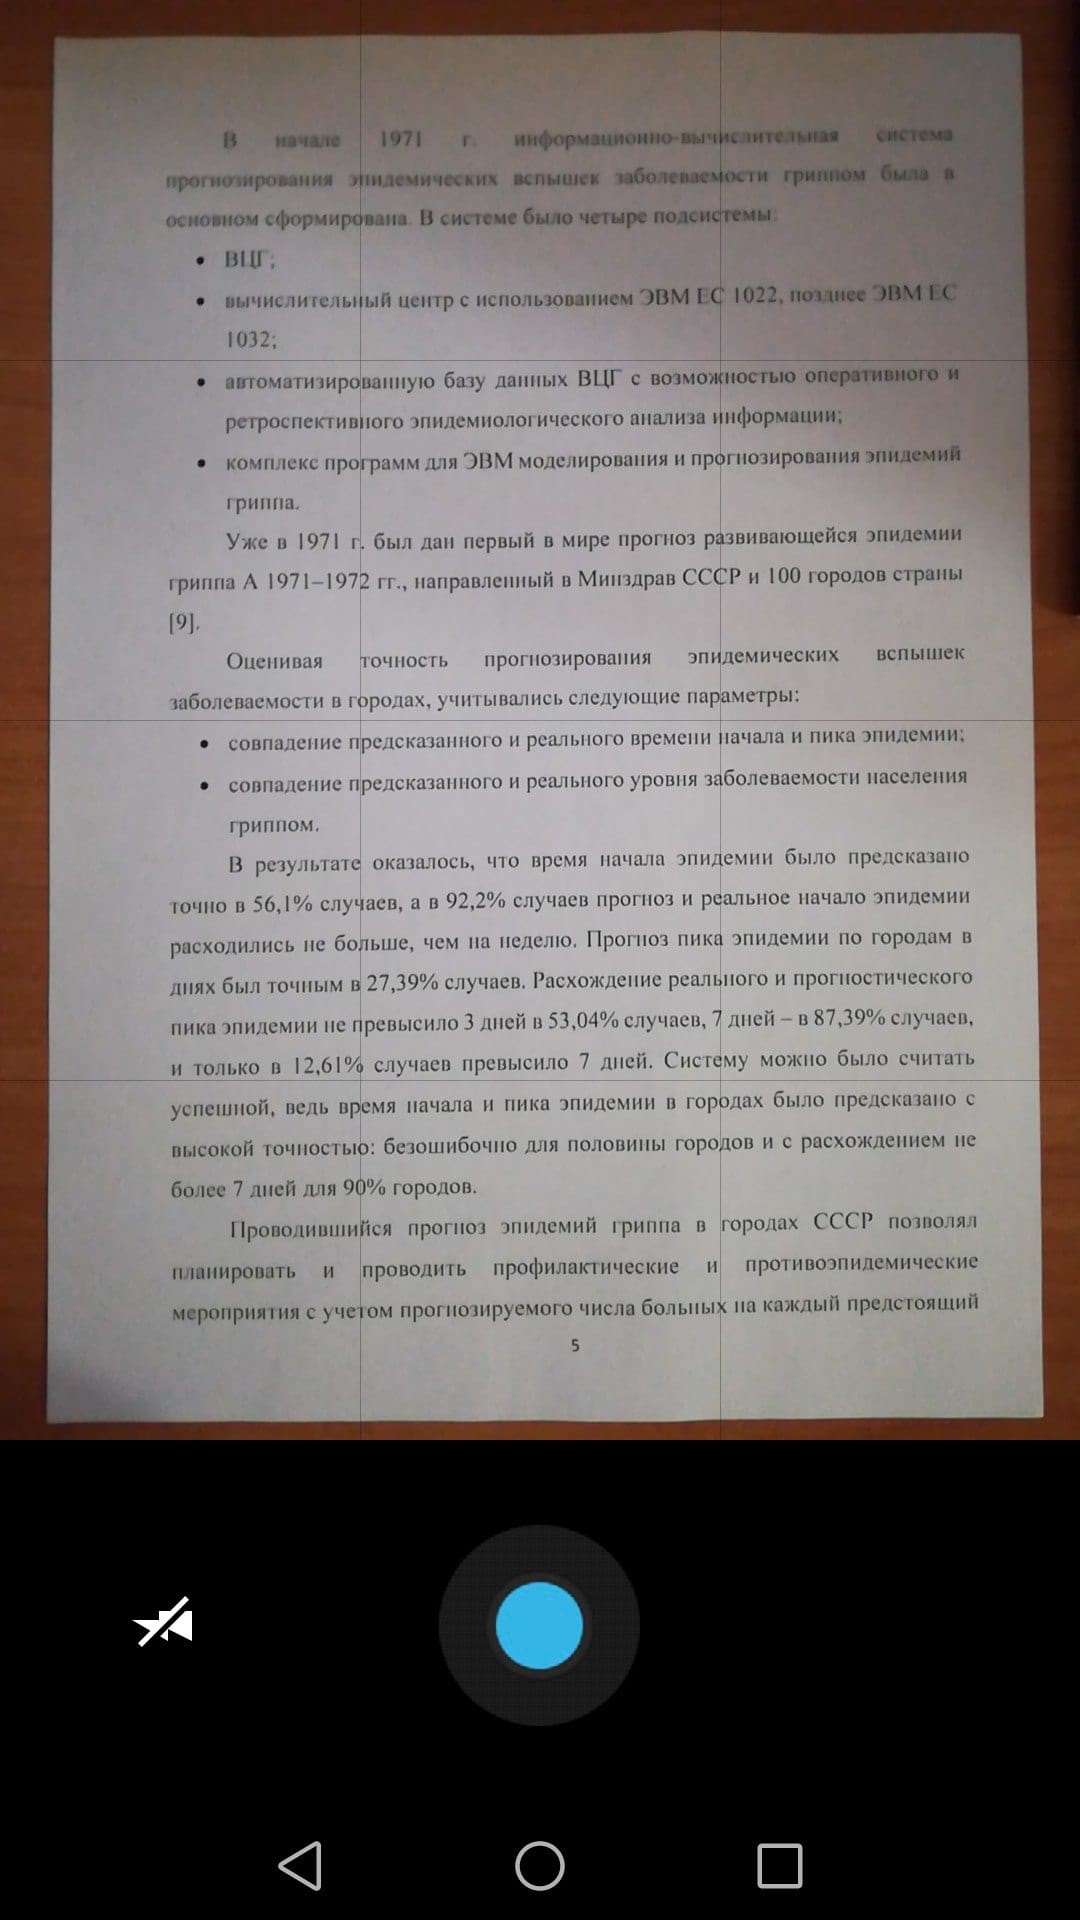
The smartphone will launch the camera. Aim your lens at the paper version of the document and click on the blue circle below. If shooting in low light conditions, turn on the flash - there is a corresponding icon on the bottom panel.

The photo is not created instantly, so try not to shake the camera, otherwise the image will be blurry. As soon as the application processes the photo, it will appear in the editor window. Here you can rotate the page, crop the image, and change the palette. Experiment with colors to get the image best quality... The default is Black & White, but if you have good camera, you can choose "No" - then the document will be with natural colors.

The resulting file is saved in cloud storage Google, where you can quickly upload or download it. Have Google drive there is one more plus - it can recognize text in the image, so you can make edits to the electronic version of the document.

If you frequently scan a document, bring the tool's widget to your desktop. You can find it in the list of widgets in the main Android menu – Google drive Scanner.
CamScanner
CamScanner is one of the most famous scanning apps for Android. The program interface is extremely simple: in the corner there is a camera icon, when you click on it, a tool for creating a scan opens.

Before taking a photo, you can adjust the shooting parameters: add a grid, turn on the flash, change the orientation, specify the required image resolution. In addition, you can choose a scanned ID for more convenient photographing of a passport and other similar documents.

Smartphones are quickly becoming a versatile replacement for many other technological devices that we use in our daily lives. In a previously published article, we looked at how you can use your smartphone to control your TV, Blu-ray player, etc. … In today's post, we'll take a look at how you can use your iPhone or Android phone as a regular document scanner.
Of course, to use a smartphone as a scanner, you need a good camera. For example, the n-store Nokia Lumia 1020 boasts a very powerful camera- no worse than the iPhone.
iPhone
The AppStore offers many different options for the iPhone scanner app, but one of the best (according to reviews) and most popular is called Genius Scan. With an almost perfect rating on the AppStore, Genius Scan can be used to replace a desktop scanner, but it also offers some additional features.
For example, with this application, you can convert any scanned document to PDF or JPEG file directly from the application. Why is this useful? If you have several printed documents, such as lecture notes, that you would like to digitize and back up to your computer, you can simply scan them as a PDF file. This app is very functional and can be used to Reserve copy and preservation of a digital copy of any document.
Plus, if needed, you can back up your documents to the cloud instead of your PC. The app provides direct PDF or JPEG export to Evernote, Box.net, Facebook, Twitter, Google Docs, Dropbox and many other services.
Now, this all seems cool, but why not just use the builtin in mobile phone camera, take a picture of the document, and send it by e-mail?
For Android users, the CamScanner app is good tool for quick and simple scan documents. This is another app that has received very good ratings from users, with almost 30,000 5 star reviews.
The app is currently available for free, directly from Google play.
How iPhone app mentioned above, CamScanner for Android offers extensive sharing and uploading options to the cloud and the popular social networks your photocopies. Thus, you can directly upload scan results from the app to Dropbox, Google Docs, Box.net, etc. very fast.
Also, this app is different from standard application cameras on Android phones... With this application, you can directly convert and save scanned images to PDF documents, crop and crop images, password protect documents, and even batch merge multiple documents.
That's basically all that can be done. These applications, of course, require a steady hand and no movement when shooting. However, they are easy to use and meet the needs of the users. Now you can scan and digitize your important documents quickly and save them backups directly on the cloud.
Despite the pervasive "digitalization" and the desire to live in a paperless world, hard copies of documents are still an integral part of our lives. Whether it's signing a new employment contract, sending out expense receipts or checks, there will always be times when we need to quickly turn something physical into something digital.
Yes you can do ordinary photos using a smartphone, but they are often difficult to read, and the pictures often look not like documents, but like bad photos. Fortunately, there are some easy ways, like is free get professional looking scans of documents on your phone.
This works on both Android and iOS, but let's illustrate it with an example of the iPhone.
Step # 1: download CamScanner
Go to App Store on iOS or Google Play on Android. Then search for "CamScanner" and download this application.
The application does not require money!
Step # 2: choose a photo source
You can choose any photos from your library ...

Step # 3: improve the quality of the scan
In this case, we're going to take a new photo. So, click on the corresponding icon and give the application access to your camera.

At the bottom of the screen, you will see that CamScanner has a number of different modes, but we are going to take one shot.
Now just click this button!

Step # 4: select the appropriate part of the image
As you can see, CamScanner allows you to crop the image, which we will definitely use - after all, we do not need the table surface accidentally captured into the frame in the document. Move the white circles around the perimeter of the image until you get the perfect image of the page. Then click the checkmark in the lower right corner.

Step # 5: set the Magic Color filter
Now the program asks you which filter we want to use to enhance the image. Can choose automatic tuning brightness and contrast ("Magic Color" button), which will make the document easy to read.
With "Magic Color" selected, click the arrow in the lower right corner to continue.

Step # 6: add more or send!
If you click the email icon at the bottom, you can quickly send it to yourself in JPEG format or PDF.

Step # 7: bask in the glory of your document
The result is obvious - the image is clean and corrected:

V free version CamScanner also has a number of other interesting options. For example, OCR (Optical Character Recognition) will allow you to search scanned documents. You can also watermark scanned images. It should be noted that there is another, similar in functionality, application - Google PhotoScan. For everyone else, this guide will make translating important documents from paper to digital a breeze.
Do you need to scan a document urgently and don't have a scanner at hand? Now everything is simple! Use the Android app to help you create electronic copies of documents, archive and structure them, and send them by email. CamScanner - ideal program for managing a variety of documents, which is suitable for use at home, office, school, and other institutions.
Working with CamScanner App
The working window is represented by two zones. The main area is reserved for starting a new scan. On the side there is a panel with the names of tags to which one or another scanned document can be attributed. The last item in the sidebar is the tag customizer, where you can delete a tag that you do not need, thereby customizing the application for yourself as much as possible.
In the upper right corner there are icons for search and additional settings. The settings menu is rich in all kinds of functions. Here you can configure the scanning itself, set the automatic processing of the resulting scan, specify the path to save the document. The settings also include the ability to sync with other devices, as well as the cloud where scanned documents can be stored. All images are saved in JPG format or PDF.


How do you scan?
On the main working area, press the "Capture" button with the camera icon. Then you have two choices: either take a photo of the document with subsequent processing, or open an existing document from the gallery and process it. If, nevertheless, you decide to photograph a document or any part of it, just point the camera at the object of interest and take a photo. The program will itself determine the recommended boundaries with which you can agree or customize your own. 
CamScanner will crop the photo, which can be corrected using the settings button. After saving, the document is displayed in the main work area of the application. 
When scanning, you can select “ Batch mode»For photographing several documents that are saved automatically, with the possibility of subsequent editing. In this case, a document is created that consists of several pages.
All scanned documents can be renamed, assigned to a group, by assigning a tag, and a shortcut can be added to the desktop of your smartphone. The document can be printed, sent by fax, and also added to cloud drives, on which documents will be stored for an unlimited amount of time. 
Conclusion
In this way, this program for Android is indispensable when working with documents, which will undoubtedly be appreciated by students, schoolchildren, people whose professional activities are related to negotiations, drawing up protocols. Now the mini-scanner is always with you!
"Scanning" documents and photos on your phone is useful function... Fortunately, there are very simple ways scanning documents.
Of course, a dedicated scanner will still be better if you often need to scan a large number of documents, but using your phone as a scanner is also fine if you only need to scan a few documents. Here's what we recommend for Android.
Best Way to Scan Documents on Android: Google Drive
If you are using an Android device, then The best way Document Scanner is a Google Drive app that's installed on almost every Android device.
You can scan documents directly from Google Drive by clicking the "+" button in the lower right corner of the home screen.
Select Scan from the pop-up menu.

It can ask for permission to access the phone's camera. Click "Allow".

When you are ready to scan your document, position the document so that it fills the entire screen as much as possible and press the blue button. You can also use flash by clicking the flash icon next to the capture button if your device has a flash. If your device does not have a flash, this option will not appear.
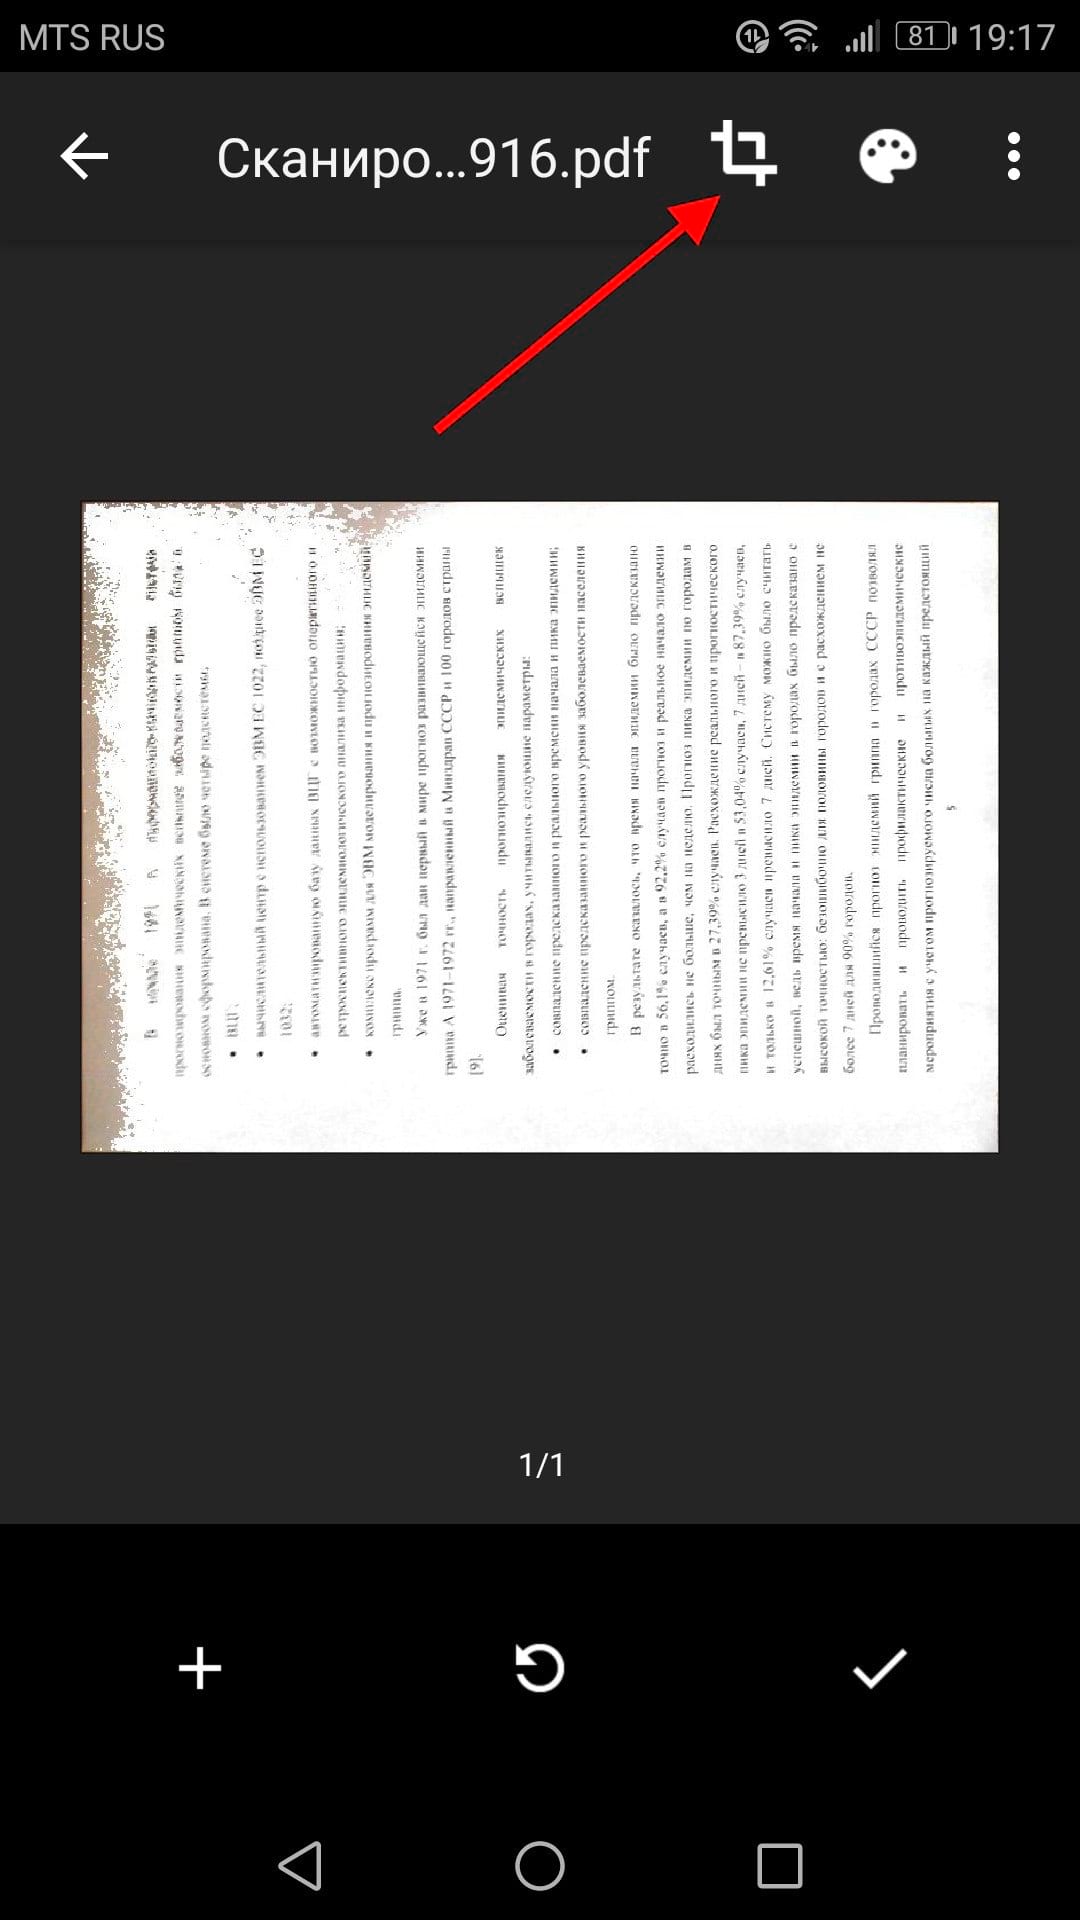
After scanning the document, a preview appears immediately. Don't worry if most of your document gets cut off when you preview it. Click on the corresponding icon to select the area you want to save.
Touch, hold and drag the dots to change the area that is being scanned.

When finished, click on the checkmark in the lower right corner of the screen.

You have three options right after scanning:
- Click the plus sign to add more pages to your document.
- To repeat the scan, tap the circular arrow in the middle.
- Click the checkmark icon to complete and upload your document to Google Drive.

You can also make minor adjustments after scanning. For example, clicking on the palette in the upper right corner will allow you to change the choice of the scan color and bring it to a specific type of document. By default, the scanner will automatically select the one it thinks is the best.

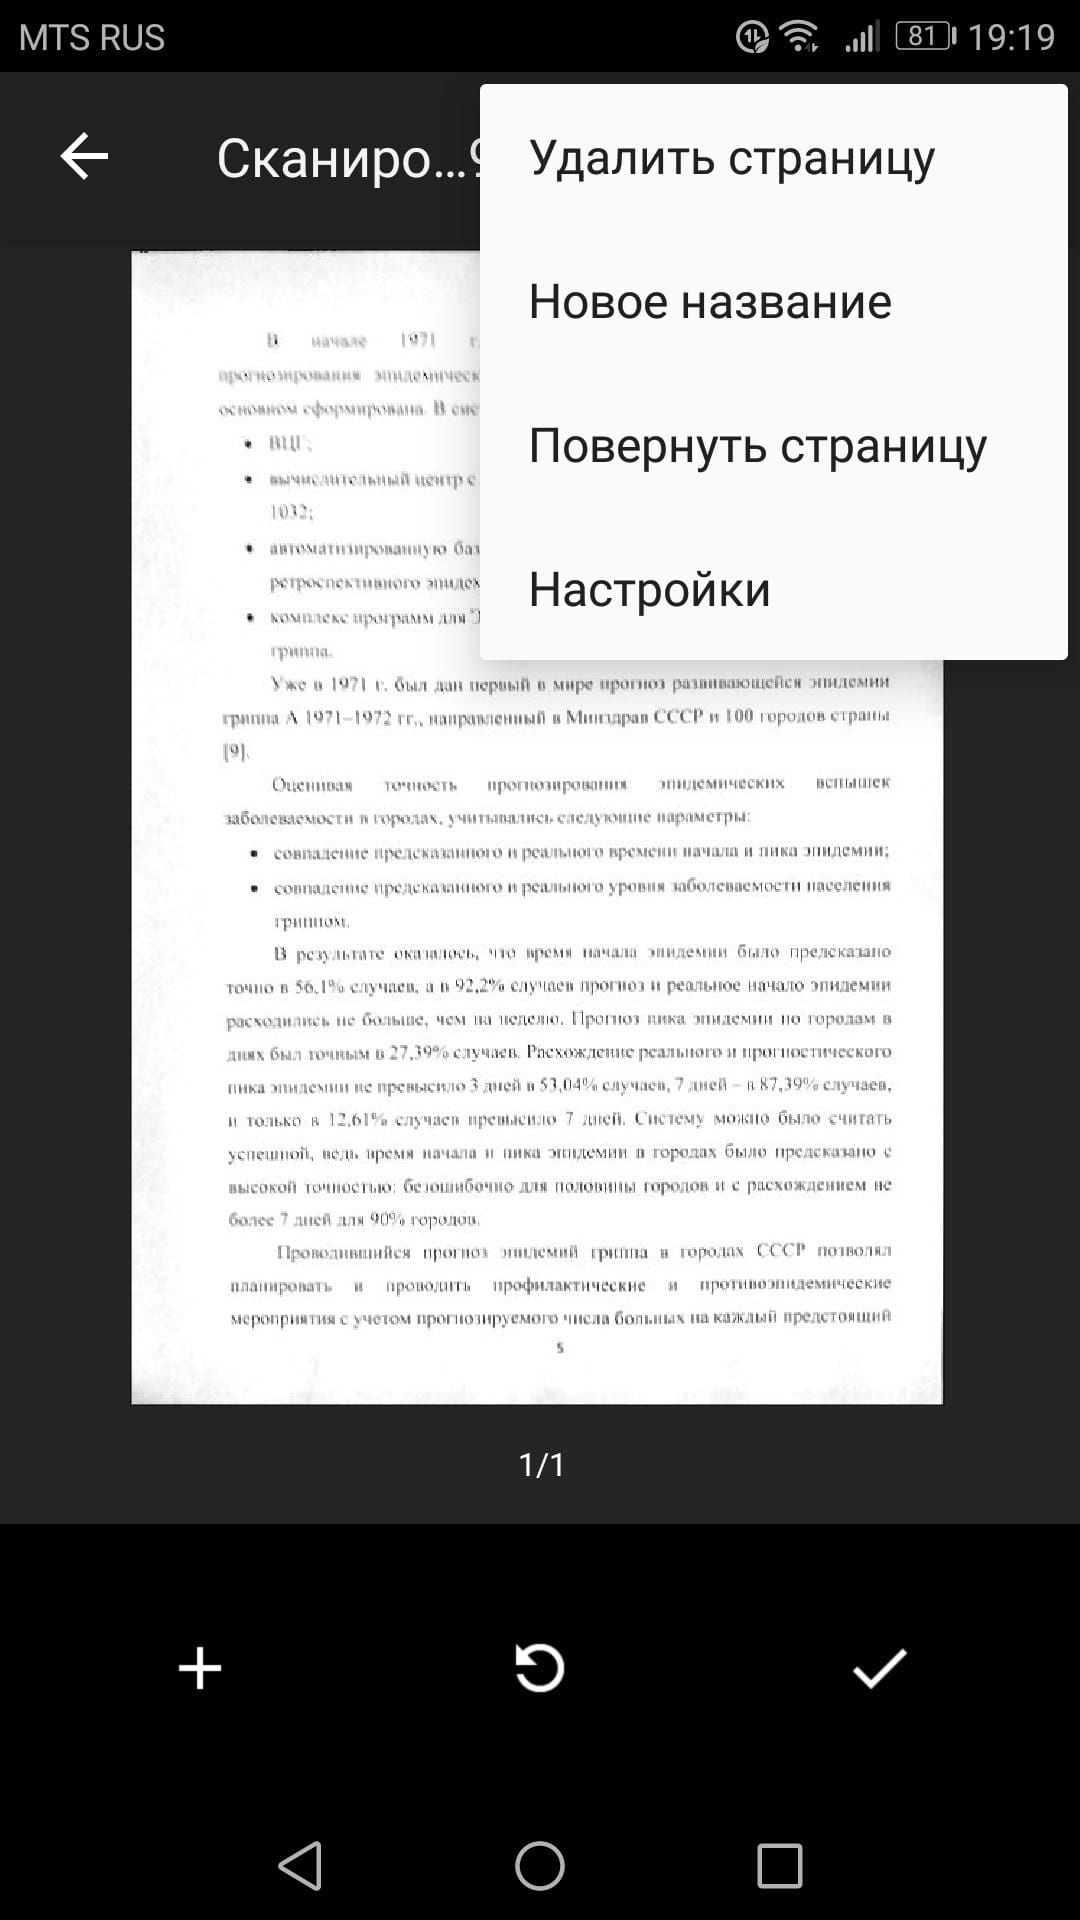
Finally, the three dots in the upper right corner will allow you to delete, rename and rotate the scanned document, if necessary.
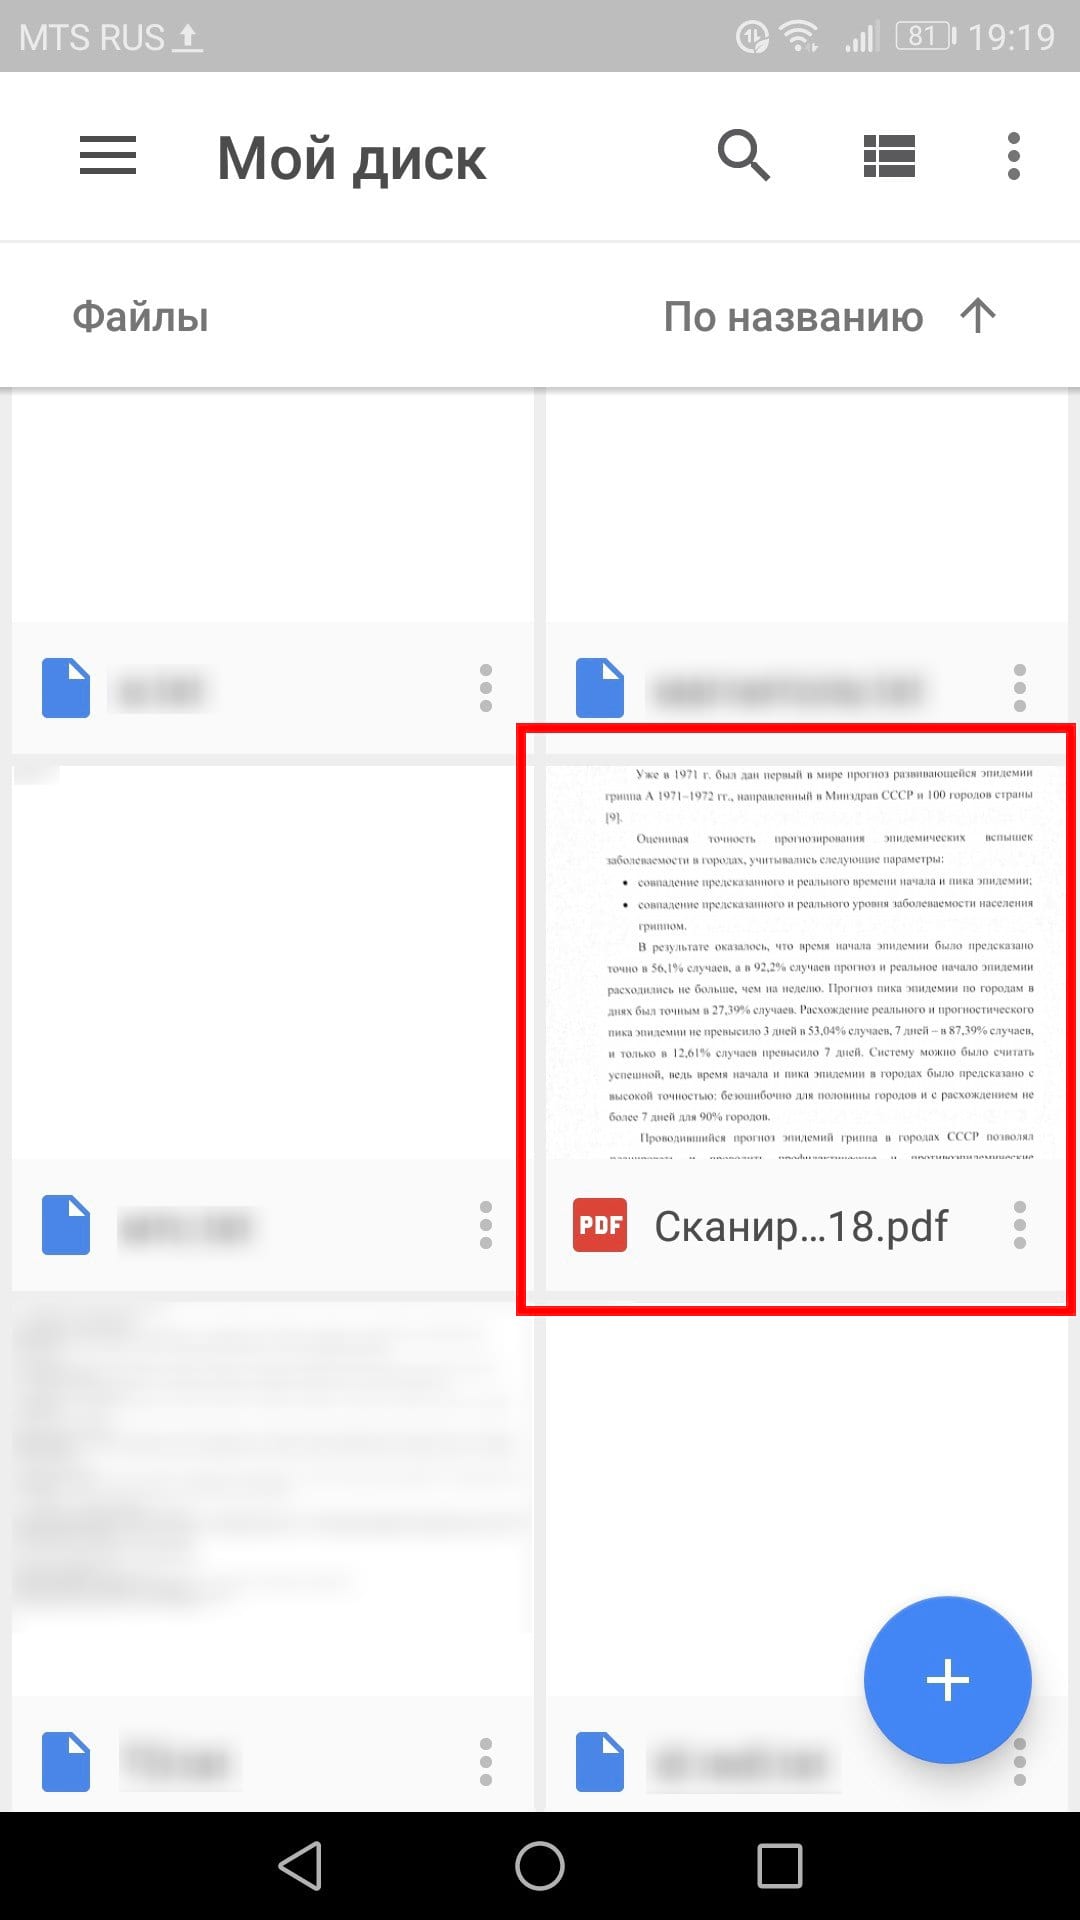
The scanned documents are added to Google Drive in PDF format, and the names are added along with the word “Scanned” followed by the date and time. You can move, rename or delete any of the scanned documents by clicking on the three dots next to the file name.

Then you convert this scanned PDF into a document, which can then be edited or exported to Microsoft Word.