It happens, hDD fails or needs to be replaced with a newer one. Sometimes it becomes necessary to use it as a digital medium. Both in the first and in the second case, it is necessary to remove it: carefully and competently, so that after installation the hard disk can continue to perform its functions to the full. Simply put, do no harm! And how to remove the hard drive without damaging it, read on.
Before you unleash the system unit, the computer must be turned off. Therefore, stop work operating system and unplug the machine from power. Only then you can proceed to the next stage. Now turn off the power supplied directly to the system unit. To do this, move the toggle switch (located on the back of the computer) to the off position. After that, you can turn off the "uninterrupted" and pull out the power plug.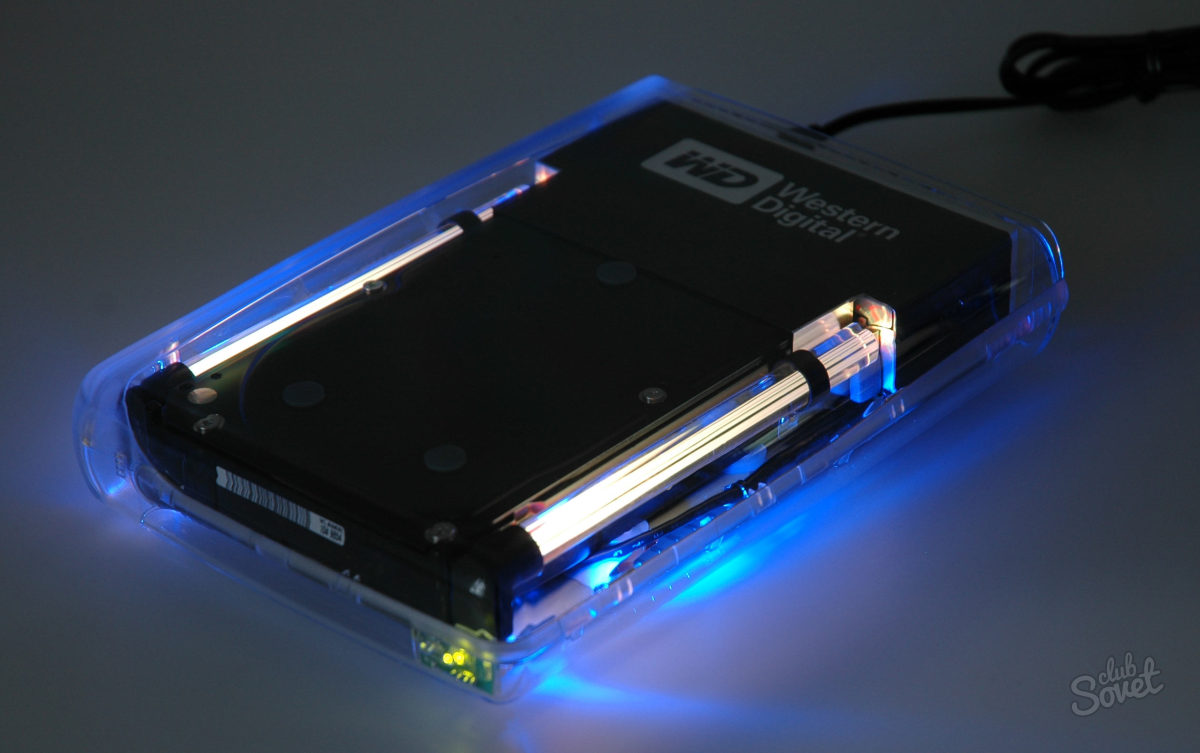
Such a process will not cause any difficulties if you strictly follow the instructions and tips. Even a person who has never seen a computer from the inside will be able to remove the hard drive by himself.
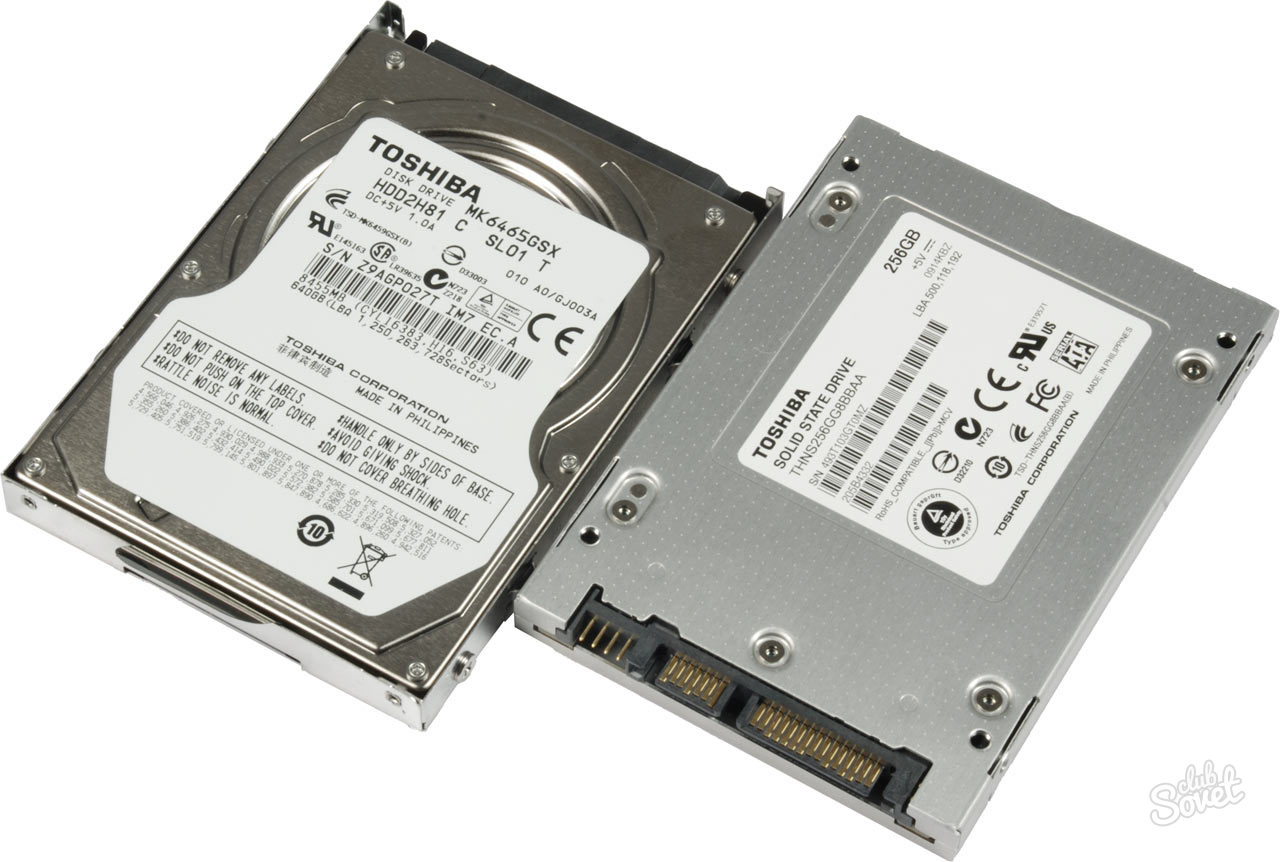
An external storage device is a demanded device, which is characterized by a number of advantages, including portability and the ability to store information volumes. The digital world offers a modern assortment of external media, including USB drives and external drivesamong which everyone chooses the appropriate option. In this article we will describe how to correctly and most safely remove the hard drive from your computer.
Numerous users believe that it is a waste of time to carry out additional manipulations with the mouse. Therefore, they are limited to simple extraction of yusb-drives. However, neglecting the procedure of safe retrieval is fraught with unpleasant consequences, including the loss of important data that was stored on computer equipment, and a malfunction of the drive. In this case, the information disappears from the media when moving files, copying them, or at an unexpected moment. To prevent this kind of difficulty, use a special function in Windows.
When you do not need to use safe shutdown
It is worth noting that in certain cases you can not waste your time on performing the above function, since this will in no way affect the state of the device, allowing you to easily save any information. Safe extraction can be skipped when:
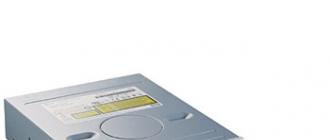
- The device is used exclusively for reading. In this case, the risk of data corruption is completely absent due to the fact that the OS does not have the ability to change data. This applies to memory cards and flash drives that are write-protected, as well as DVD and CD drives.
- Portable devices that connect via USB cable, including cameras and MP3 players.
- Network storage used by the user, "in the cloud" or on NAS drives.
How to remove external hard drive from laptop and computer correctly
Proper shutdown of the device is the key to the safety of data and files, and provides long term operation of the drive, protecting it from premature physical damage. This function of the operating system is used without fail in such cases:
- If the connected devices are used by the OS, including writing or reading information from a USB flash drive. It should be noted that disabling the drive is possible only after the completion of the operation.
- An external hard drive is a common device that users prefer. Its use implies that the user will need to remove the external hard drive from the laptop. The growing popularity of such drives is due to the fact that for a computer they embody a profitable investment and provide data transfer between computers and laptops. External hard disk provides the ability to carry backup and use additional storage space.
- Drives that use encrypted file system or equipped with encrypted files.
Safe disconnect options
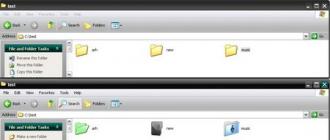
A removable disk offers three options for safe removal.
fig.1. The simplest of these is to click on the corresponding icon on the taskbar.By choosing the most convenient way for themselves, each user will be able to securely transfer data without fear of losing important information or damage the drive.
fig.2. And then select the appropriate function.
It is worth noting that there are other ways to safely remove an external hard drive. A modern computer hard disk device can be disabled via the Start menu:
- Go to the menu.
- Click on the option "Computer".
- Pull the hard drive out of the laptop by right-clicking on the device and selecting the function "Eject".
If the external hard disk is not removed, close all programs that are currently connected to this device. The next step is to go to the Device Manager via the Control Panel, which is located in the Start menu function menu. Going to "Disk devices", you must select the desired drive by double clicking on it.
In the tab "Policy" click on the "quick delete"After completing this step, remove the disc from the laptop.
WATCH THE VIDEO
Now you know that safe way Removing an external hard drive, the most reliable and easiest. Any questions? We are waiting for them in the comments.
How to extract from laptop hard disk?
Answer wizard:
If, for some reason, you need to remove the hard drive from your laptop, then you are most likely alarmed by the fact that there are no fastening screws on the case. Perhaps you have even flashed the thought that you yourself can not do this. But in reality, it is not at all difficult to remove the cover of the laptop in order to gain access to the hard drive. You will need the screwdriver only to detach the hard drive from the case itself. Let's look at the procedure for removing the hard disk on the example of the HP Mini netbook.
First, you will need to complete the work of all programs that are running on your laptop, and then completely turn off the computer. In the event that your HP Mini does not work, it will be better to make sure that it is really off, and not in hibernation mode. To do this you will need to slide the switch and start Windows, and then, using the tools of the operating system, turn off the laptop completely.
It is also necessary to disconnect all devices and cables connected to it from your computer, do not forget about the power cord, of course, if it was connected. After the above steps, you can close the screen and turn the laptop over so that the bottom is at the top.
Then you will need to move the battery retaining clip (if the battery is facing you, the retaining clip will be on the right). Under the clip, you should see an icon with a red lock on it. Slide and hold the second clamp. With that hand that remains free, you will need to pull the battery towards you and pull it out.
Inside the case of your laptop will be located orange latch, which must be moved. It should be held with one hand, while the second hand to press the bottom up on the edge of the back cover of the computer. Efforts must be distributed evenly in order to not hurt anything. Now you can completely remove the cover from the case.
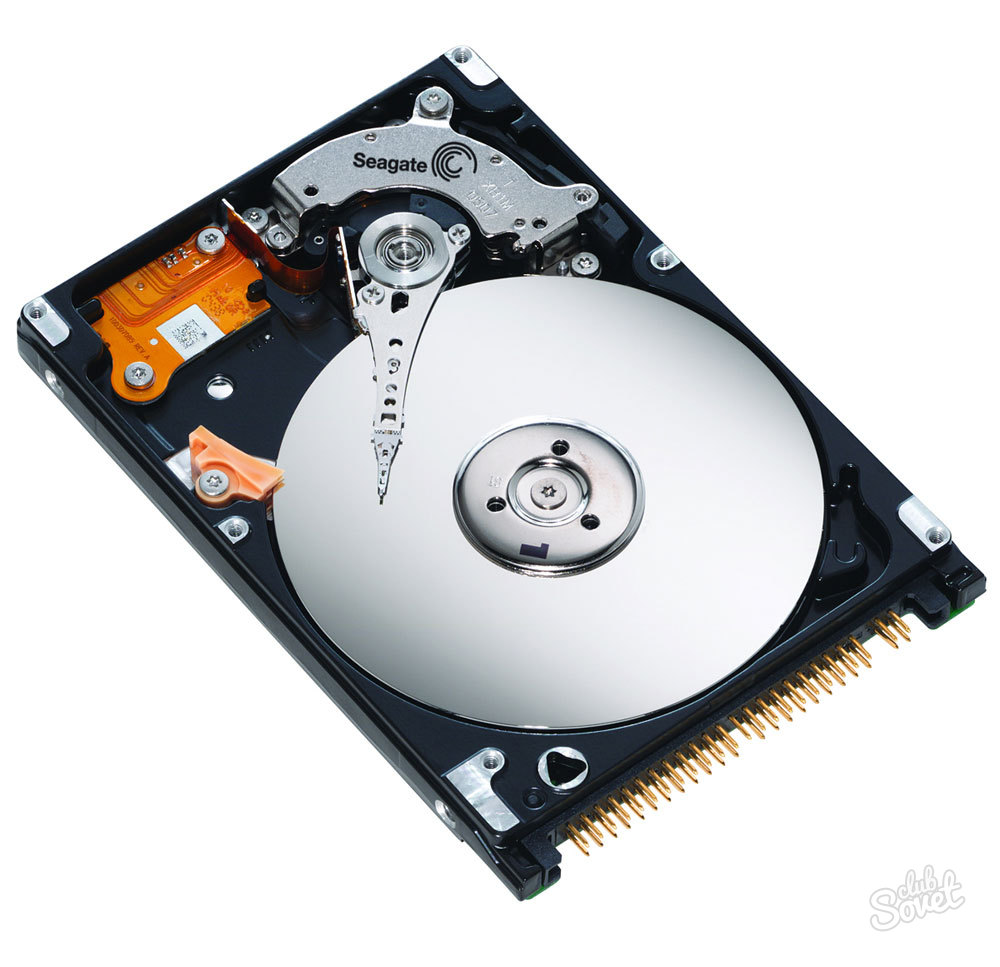
Under the black film hard drive and will be located. It will need to be unstuck. Then grab the ledge, which is located on the plug of the hard drive cable. In order to disconnect the cable from the connector, you need to pull up the hard drive. After you unscrew the fastening screws with a screwdriver, you will need to grasp the ledge that is on the hard drive case and pull the hard drive up. Thus, you can extract it from the case entirely.
Acting in the reverse order, you can install a new hard drive into your laptop. To do this, you will need to take up the protrusion located on the hard disk case, and then very carefully insert it into the slot. Then you will need to fasten it with mounting screws. The hard drive cable will need to be placed in a channel specifically designed for this purpose. Now you need to insert the cable plug into the connector (you will hear a characteristic click when it is fully in place).
Return the laptop cover to its original position. In order for it to fully snap, you must very carefully push it. You will need to make sure that there are no slots in the laptop case. At the end, you must insert the battery in place and secure it with the locking clip. If necessary, connect external devices to your computer, as well as a power cord. Now you can turn on the computer.
Operating room windows system - According to most users, one of the most reliable systems. Most likely it is.
But we will face it - to bring it out of its normal working state, anything can.
Viruses, Malware, Not Quality software, Microsoft’s own updates, drivers, non-compatible hardware, and a million more reasons why Windows sometimes “pleases” its users with blue screens.
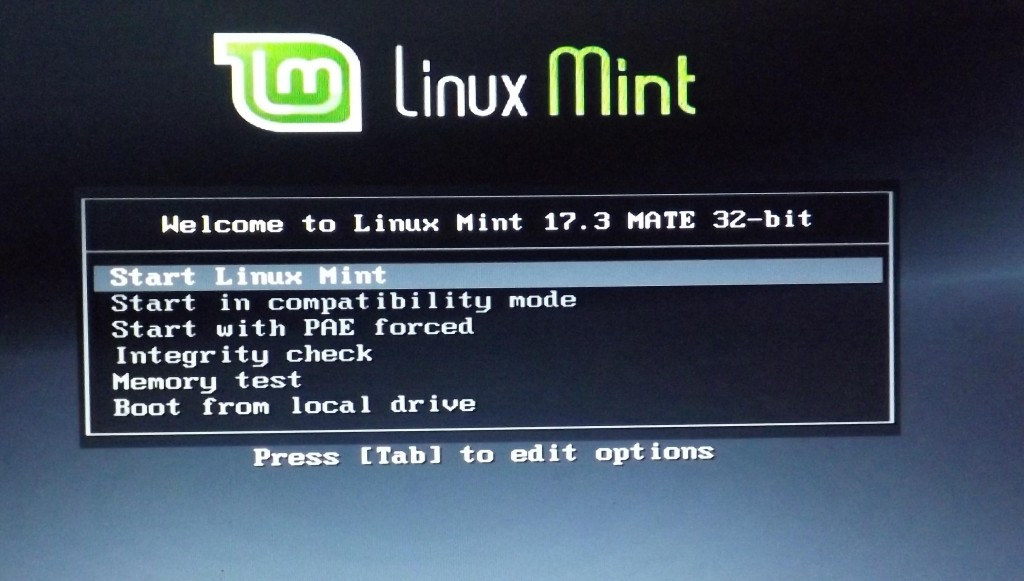
Then you can choose one of several versions of this distribution. We will choose a version based on the desktop environment. MATE, 32 bit. But you can choose anything - any distribution kit is suitable for our purposes.
Further, we will be asked to choose a mirror to load based on your location. If you are in Russia, you can choose a mirror Yandex Teamif in another country, pick a server that is closer to you.

Download Universal USB Installer
There are many programs that allow you to write an image of a Linux distribution on a USB flash drive. We will use one of them, called Universal usb installer. It is very easy to use, does not require installation, and allows you to select a recording profile for a specific distribution.
The program download page is located at this address.
Try to download it from there, otherwise you can get on the fraudulent link, and install it at all what was expected.
Burn image to USB flash drive
Now run the just downloaded program - Univeral Usb Installer. In the picture below, we see a window in which we will configure the record. You should not be afraid of this window, its complexity is deceptive. In fact, it is nowhere easier.
Let's look at its settings.
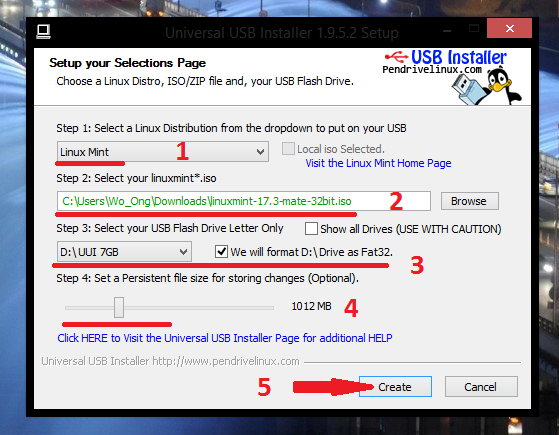
- Step 1: Select a USB flash drive. -This item suggests that we choose to which “family” of Linux our image belongs. We downloaded Linux Mint, and select it accordingly. If you downloaded, say Ubuntu, then in this drop-down menu you should select it. Otherwise, the program will not "see" the image file.
- Step 2: Select your linuxmint * .iso - This step offers us by clicking on the button
- Step 3: Select your USB Flash Drive Letter Only - here we are invited to choose our flash drive. If for some reason, the flash drive was not listed, try checking the box on the right. Here it is necessary to put a tick on the formatting of the flash drive (make sure that you have nothing important on it).
- Step 4: Set a Persistent file size for storing changes - quite an interesting item. It allows you to make a disk image “changeable” - to reinstall programs, save documents to the Desktop and into folders, Russify Mint, etc. We recommend setting the slider to at least 1 gigabyte (approximately). It will make your flash drive more convenient.
- Cherished button
That's all the trouble. You can drink coffee again. The process will last for some time. It all depends on the flash drive, the speed of the hard drive, and the computer of a friend as a whole.
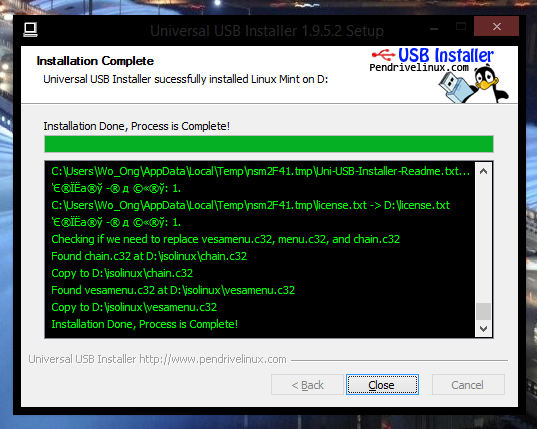
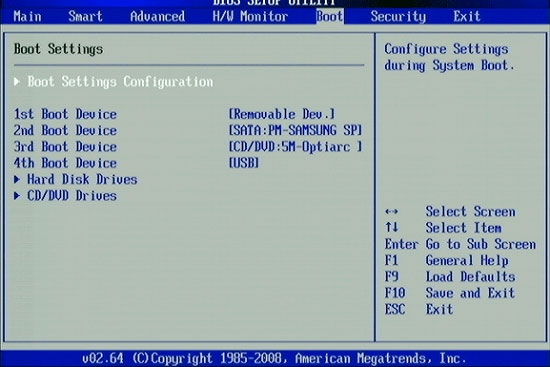
Now only a little remains - it will boot from this very flash drive. If all of the above you have succeeded, most likely it will not be a problem for you.
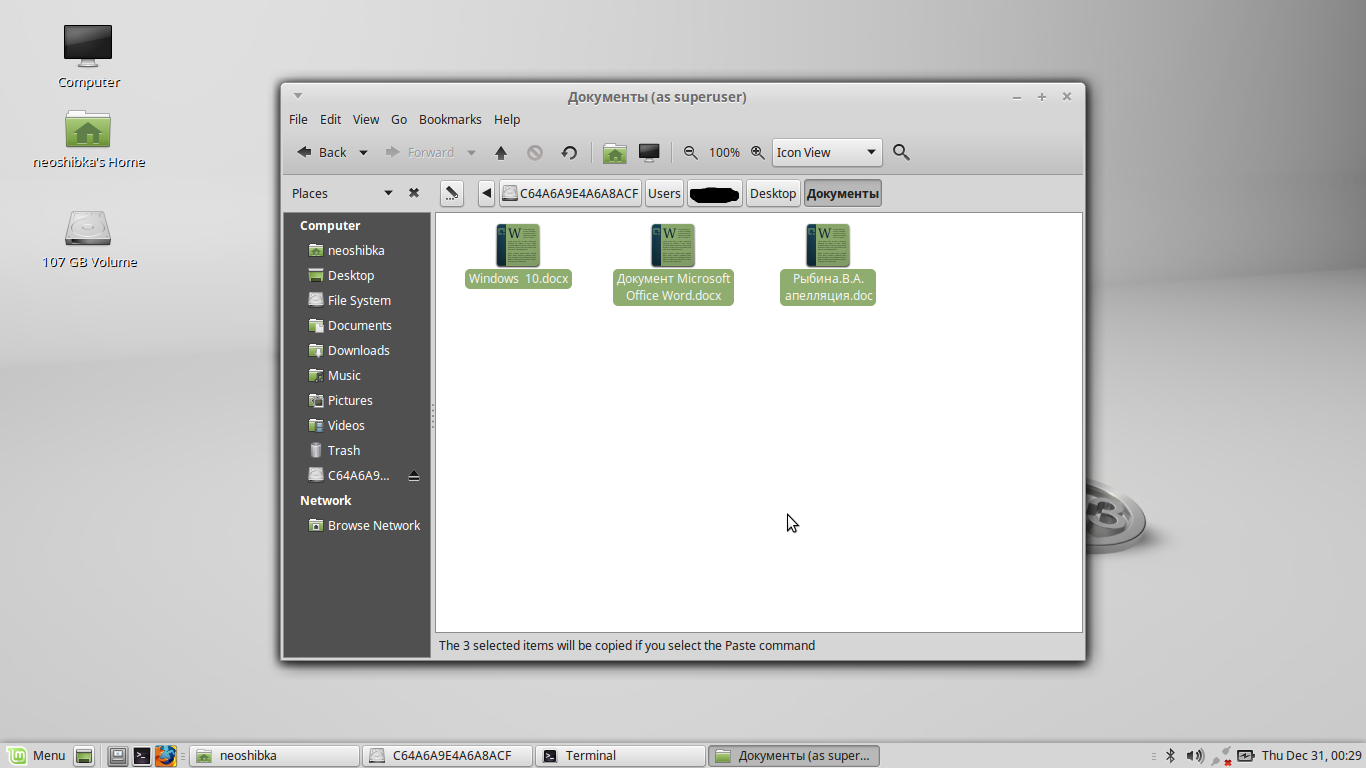
Work in Linux Mint or how to pull data from a laptop hard disk.
After a couple of minutes of downloading, you will get a fully functional system with which you can transfer data from one of your disks to another. To do this, simply open the file manager, find your disks in its left part and open them (mount). And then everything is like in Windows -
Epilogue
Nobody said that the second method will be simple. On the contrary, there are easier and more comfortable ways. Alternative options - the mass. There are ready-made assemblies based on Windows itself.
This method is not a panacea. This is just one way.
But, as mentioned above, besides the fact for which everything was started, this system has everything for comfortable work. Browser, email client, image and video viewer, photos. There is also an office suite Libre Office (a good replacement Microsoft Office) and much more.
When checking of this method, neoshibka.Ru have problems with the rights. The files created in Linux Mint (for example, screenshots) did not want to open in Windows 8, which for some reason cursed the length of the name and what is clear is write protection. Most likely the author forgot to mention this.
In order for everything to be fine, immediately after the first boot of Linux Mint, you need to open a terminal, and enter the following commands in turn:
sudo adduser neoshibka
Then answer a couple of system questions and set a password.
sudo adduser neoshibka sudo // where neoshibka is your username
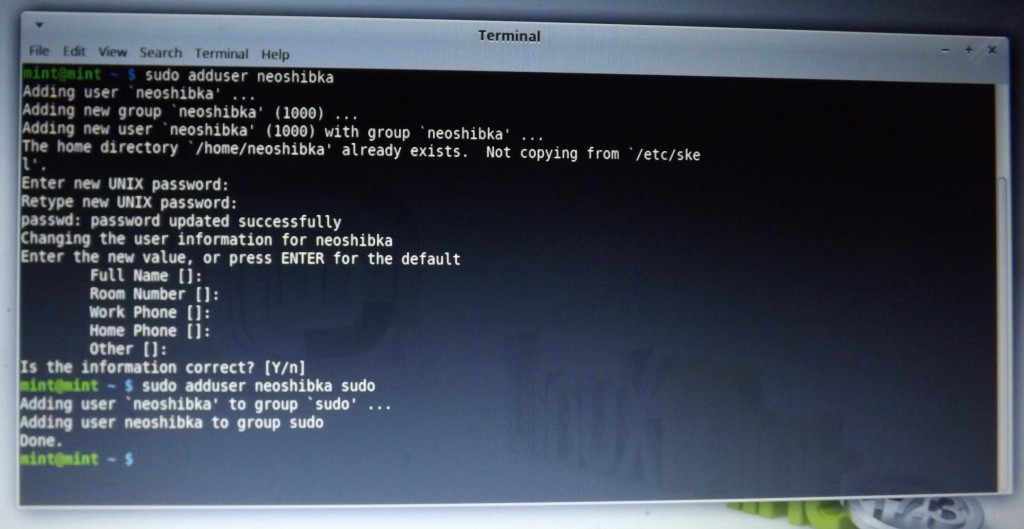
After that, you need to complete the session, and log in already on behalf of your user with the password that you entered a little earlier.
This article is designed for beginners, those who need to remove the hard drive from the computer for the first time. It is quite simple. However, there are some nuances that not experienced people can forget or not know at all.
First you need to make sure that the computer is turned off from the network. You also need to have an idea of electrostatic charge, which can lead to damage to computer equipment. Therefore, ideally, use gloves. When security measures are taken, you can begin to remove the hard drive.
Open the side panel of the computer
First, you need to remove the side panel of the computer case. It is usually fastened with several screws or clips. Remove the side panel retaining fasteners and carefully remove it. Be careful, if there is a cooler (fan) on it, then you will need to unplug the power cord. Therefore, first move the panel a little away as far as the cable allows and disconnect it.
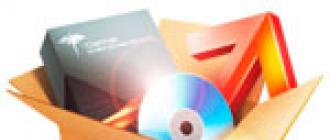
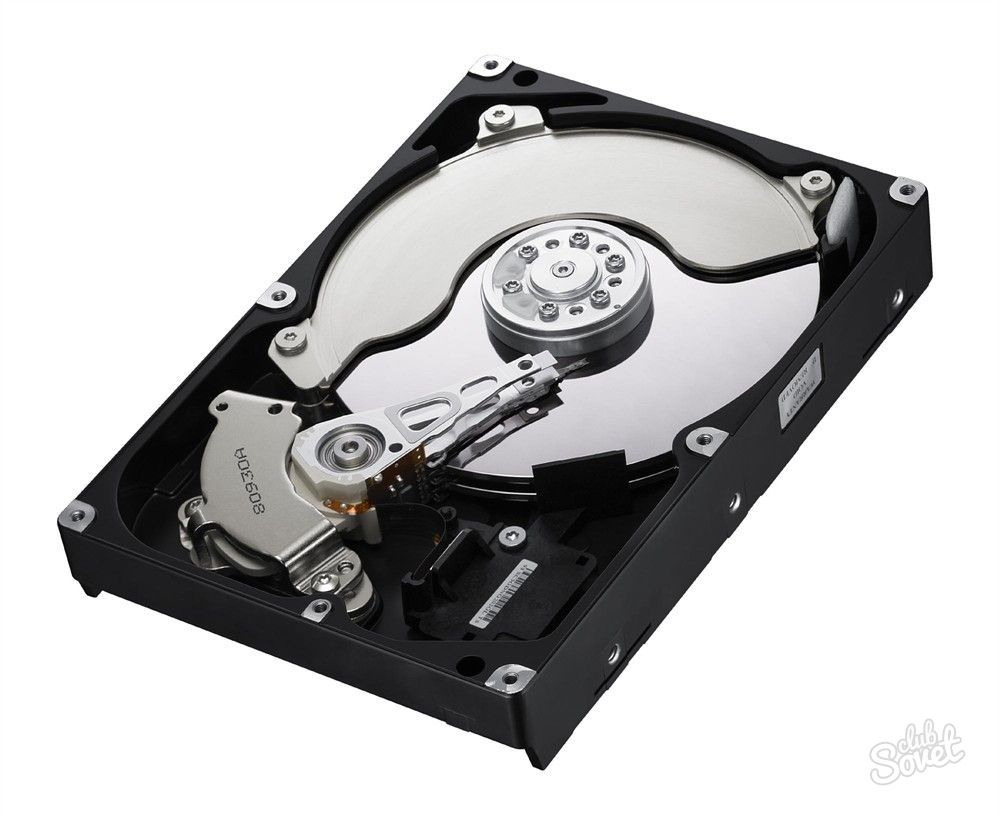
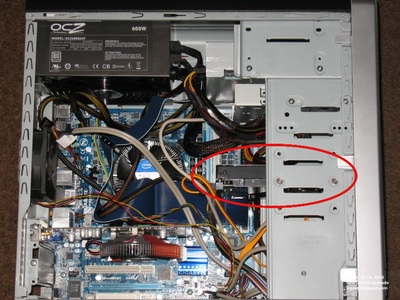
After removing the side panel, in front of you should be the internal parts of the computer. Next you need to find the hard drive. In most computers, it is in the front of the case, as shown in the images below.
Removing the hard drive
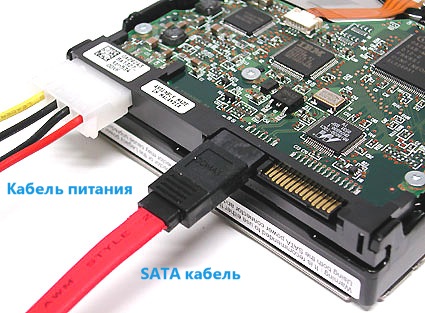
After you have found the hard drive, you need to disconnect the power supply on its back, also, next to it, disconnect the IDE or SATA cable.
The hard drive must be secured in place, or with two, or four screws, as shown in the figure below.
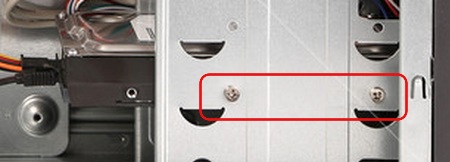
Sometimes there can be clips instead of screws. After loosening the screws you can gently pull out the hard drive.
If you unscrew the two screws and the hard disk does not move, then most likely there are two more mounting screws on the opposite side of the case. To unscrew them you will need to remove the second side panel of the computer.