We even now do not consider this simple-minded situation, when the microphone does not work in steam, but in passing it is not in the whole system. In this case, of course, it’s not about the gaming environment - you need to check the microphone setup in the entire system. We start, as always, with the connection, and then go to the driver and settings available in the control panel.
The problem is much more complicated - the microphone in other games, programs, services, services, in particular, in Skype, can work fine. But for some reason he is not in Ctim or even in a particular Ctim game. In this situation, you will have to try several possibilities to make this device work. Strictly speaking, there is no single recipe how to set up a microphone in Steam.
First few tricks
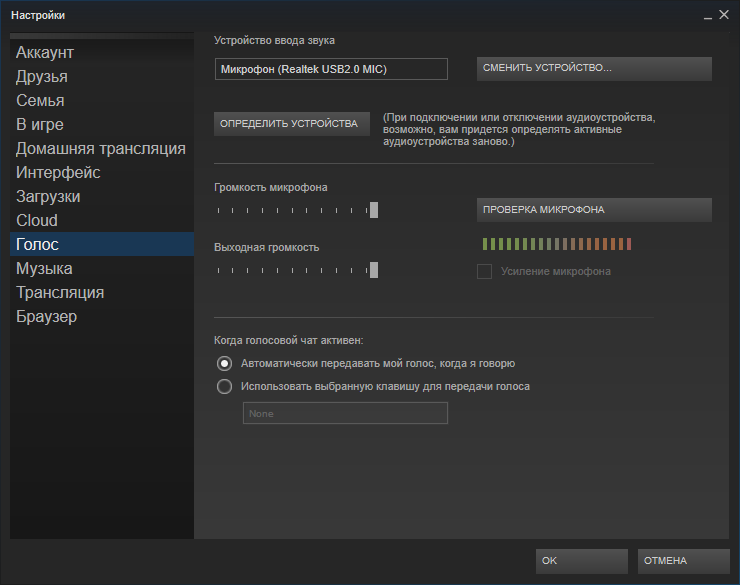
First, if the microphone does not work in Stim, you can try to refer to general settings environment. For this:
Secondly, perhaps everything is connected with the settings of a particular game - this is when the microphone goes through the speakers. The fact is that in this case columns are used by default, and there is no automatic switching.
So, we go into the game sound settings and select the playback device - the microphone. Note that such a switch will have to be done constantly as needed - from the speakers to the microphone and back.
Thirdly, the problem may lie in the connected add-ins, they can block the use of the microphone.
For example, this is seen with some recent versions of Shattle Play. You just need to remove this version and put another, oddly, older one - everything will be fine with it.
More systematic approach
But we have led separate and quick attempts on how to set up a microphone. Perhaps they will be quite enough to promptly remedy the situation. Although, in general, a more systematic approach is required, which we propose further.
First, we check the port of the microphone connection - usually it is a pink plug. We try to change the connectors, this is especially true when connected via USB. If the connection occurs through the hub, you can try to get around it. It is needless to remind that every next action is accompanied by checking whether the situation with the sound has not been corrected.
Secondly, we update drivers, and not only on the microphone, but also on the sound card as a whole.
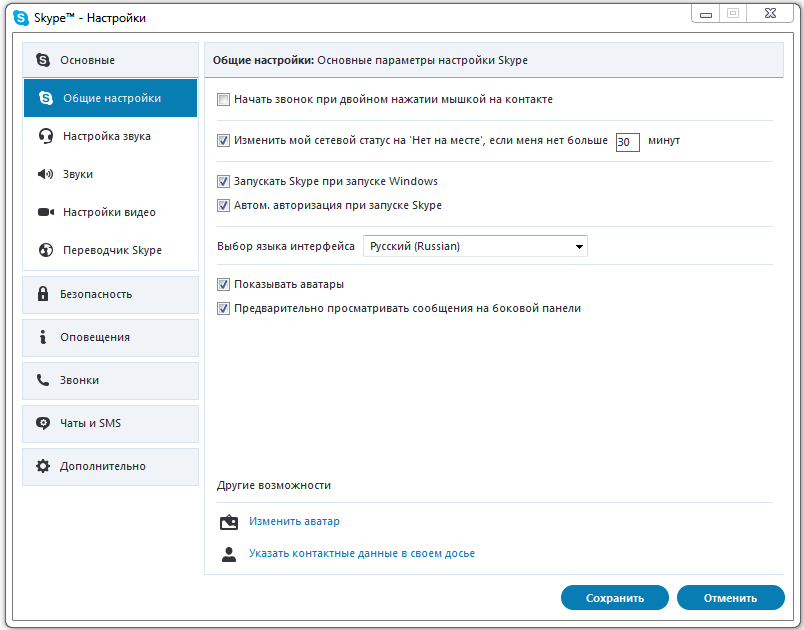
Third, check the system microphone volume settings. In this situation, it is convenient to use any program (the same Skype), in which there is a built-in check of all auxiliary equipment, including a microphone.
Fourth, analyze what else you have, using a microphone. Some services are simply not compatible with system settings and block them. This applies, for example, to such specialized service programs as the Creative Mix Console and RealTek HD Audio Manager. You need to check all the internal settings of these programs and disable all those that are not trustworthy.
At this stage, we have the full conviction that the microphone is in working condition, and at least outside the Steam everything works as it should.
Next, we check in a specific Steam game immediately after its launch. We use the settings of the game itself - the “Microphone Control” section (it may be called “Check”, but this is no longer important).
If the device does not work, then this is a direct consequence of its disconnection by the game itself after its launch (we are not even talking about the situation when the server settings can disable the microphone).
The first thing to do is update the codecs used by the game.
Following we take into account that there are programs that can directly interfere with the microphone. These include TeamSpeak, Skype, Ventrilo. Before starting the game, these programs should be turned off.
An interesting detail - you can have a microphone in order, and even it gives something, but with very poor quality. Bad quality means:
- The echo response is often interference from the included speakers. Some microphones capture the sound from all sides, including from the speakers. You can try to mute the sound of audio devices to improve voice quality.
- Low volume - to increase it is better to use the settings. operating system. Go to the Main Menu, in its Control Panel. Next, select "Sounds and Audio" and the "Volume" tab. Go to the "General Volume" window and then - "Parameters". Go to "Properties" and in the list tick off the "Mic Volume". It now remains to go to the "Options". There choose " Extra options"And click on" Settings "- set a tick on the amplification of sound on the microphone.
- Crackle and distortion are already problems of sound transmission over the established physical connection. You may be holding the device too close when talking.
Work with the server
Poor sound quality can also be associated with poor network connectivity. Here it is worth checking the modem - the state of its cl_cmdrate parameter, which is responsible for the frequency of sending data to the server, including from the microphone. The optimal value of the reference frequency is 20. At 13, the sound starts to suffer. 40 are usually used by lovers of local games.
The problem is often determined by the fact that some servers forcibly change this parameter for load balancing. A good sign that the quality of the performance of your microphone was influenced during the game by the server - after the launch, the sound was, but gradually it became worse and disappeared completely.
Setting this parameter in Steam is carried out in the “File” / “Settings” menu / “Internet” tab - here you should select the desired speed, usually 2500, this is the most suitable for any connection, although you may have to play with the parameter in the future .
It is very useful to be able to make settings using the console - you can use the “~” key to start it, another way is to launch the application with the “-console” parameter.
So, choose the desired game in Steam and call it context menu. Next, go to the properties and in the command of the settings of the parameters of the launch we determine the desired speed.
After setting, we check the microphone in the console by entering the line "voice_loopback 1".
We conduct a conversation and simultaneously type in the console to select the sound quality sequentially: rate n, where n is a value from 2500 to 9999 (input, of course, with a certain step, usually from 100 to 300).
When we get acceptable quality, we complete the verification by entering “voice_loopback 0”.
ATTENTION. Please note that some Steam servers use Miles as an audio system, but it has the worst sound quality from a microphone. A more advanced system is Speex, it works better with sound, but with increased load, it also has problems.
It is worth checking the operation of your microphone on several servers at once, having played the settings, voices as well.
It is the server that determines the codec responsible for voice communication. To switch between servers we use two identical commands - “sv_voicecodec voice_speex” or “sv_voicecodec voice_miles”.
The desired sound quality allows you to select five commands: “sv_voicequality n”, where n is a number from 1 to 5 (“1” corresponds to a transmission speed of 2400 bits per second, “2” - 6000, “3” - 8000, “4” - 11200, “5” - 15200).
Here is a list of all the actions that can be performed if you have a problem with the microphone in Steam. Please note: this list does not claim to be 100 percent complete. The environment is constantly evolving, there are new games, new hardware capabilities, so the situation requires constant monitoring and analysis.
Check connection
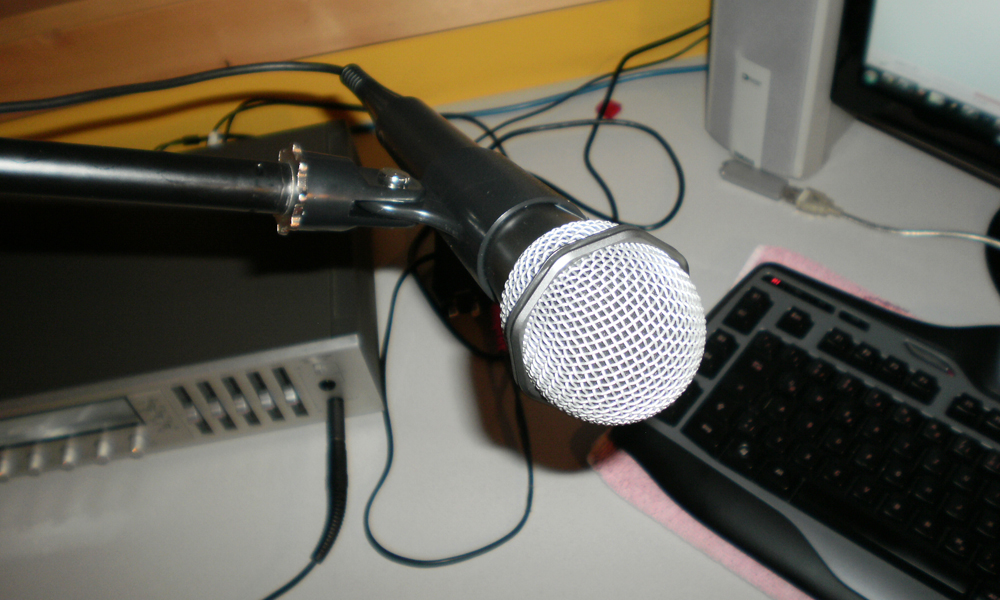
Sometimes such problems occur due to inattention. Perhaps you plugged the microphone into the wrong jack, this is easily overlooked, especially if it happened in a hurry. Most microphone plugs are pink and must be connected to the corresponding jack on the sound card. Some microphones do not have color coloring, in this case you need to refer to the manual. sound cardto make sure the connection is correct. Checking this option in the first place can save a lot of time.
USB Microphones
Plug the microphone into another USB port. If the microphone was connected via a port on the front panel, connect it to one of the ones on the back. If the connection goes through a USB hub, connect directly and see if there are any changes. So you can quickly find the problem.
Check drivers
This applies to USB microphones and sound cards. Sound card drivers are very important, especially on Windows vista. Find out the manufacturer of the sound card (for example, Realtek, Creative, SigmaTel, etc), visit its official website and download latest version drivers. If you don't know where to find this information, see the guide for motherboard (for embedded sound cards) or contact your computer manufacturer.
Make sure correct setting microphone in windows
To ensure that it is configured correctly in Windows, please follow these instructions (Windows 7):
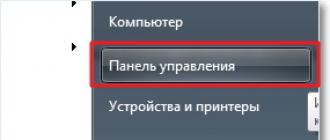
1. Click the button Start and select Control Panel. Find Sound here or through Equipment and sound.
2. Select Sound.
3. Click the tab Record.
4. Make sure your microphone is selected as Default device.
5. Make sure the microphone is working properly and responds to voice using the volume scale on the right.
6. Go to Properties microphone Verify that the displayed connector and controller are correct.
7. In the tab Levels adjust microphone volume and gain. Do not set large values, it may cause distortion.
8. Save all changes and check the microphone again.
9. If everything works fine, then go to the next section. If not, you need to reinstall the drivers and check the connection.
Additional sound card driver software
Many drivers for audio devices have additional programsthat make it easy to control and adjust sound. These programs can perform the functions of managing audio streams, which deals with Windows. Creative Mix Console and the RealTek HD Audio Manager are examples of such programs.
Check the settings of these programs. Turn off the included sound enhancement features or effects, see if the problem persists.
If you think that the cause of the fault is in the sound card drivers or additional software, find out the sound card manufacturer (for example, Realtek, Creative, SigmaTel, etc.), visit its official website and download the latest drivers.
Check the microphone settings in the game
So, you made sure that your microphone is properly connected, configured in Windows. The next step is to check the microphone setting in the game. The following is an example:
Select "Microphone Test" in the sound settings. With a good microphone, you will hear it (if you do not have headphones, you can hear the echo). If everything works here, check the microphone in the game. First make sure that the voice button in the settings, Options / Settings\u003e keyboard / control\u003e voice chat / communication is correctly assigned.
If the microphone still does not work in the game, perhaps the problem lies in switching the microphone inputs when the game starts. To solve this problem, please read the Microphone input switches when launching a game article.
Information at last. The server can control the operation of the microphone. Will it be active in the game, as well as the used codec and sound quality. Try several servers to check this option.
Note. In some games, your microphone will not work while you are in observer mode.
Close conflicting applications
Programs such as TeamSpeak, Skype, Ventrilo and others can intercept the audio stream of the microphone. Close these programs while playing on Steam to make sure that the game has full access to the microphone.
If you insist on using third-party programs using the microphone in the game, Steam support will not be able to help you with troubleshooting the microphone.
Feedback / Echo
As a rule, the cause of the echo is the use of microphones near the speakers. Use of headset is recommended. Some poor quality microphones are omnidirectional, i.e. capture sound from all directions, including sound from the speakers. Turn the microphone down and see how it affects the quality of communication.
Silent / low volume
Some microphones require amplification. To configure it in Windows, please follow these instructions (Windows 7):
1. Click the button Start and select Control Panel. Find Sound here or through Equipment and sound.
2. Select Sound.
3. Click the tab Record.
4. Go to Properties microphone In the tab Levels adjust microphone volume and gain. Set the levels that are optimal for you using the function Listen from this devicein the tab Listen.
Crunches / Hiss / Distortion
A damaged cable or poor connection often causes poor voice quality. Check if the microphone is well connected. Often the plug may not be fully inserted; this may weaken the signal. If this problem occurs in other applications / games, use another microphone to check the health of the first one. Some microphones are made from bad materials to reduce their price.
Also important is the location of the microphone. Do not hold it too close, 2-3 centimeters - the optimal distance from the microphone to the mouth.