Drives to use old good optical discs can still be used in laptops. And sometimes they have problems, for example, how to open the drive on a laptop without a button or if the button does not work. The solution of the problem can be either programmatically or with a physical impact on the drive itself.
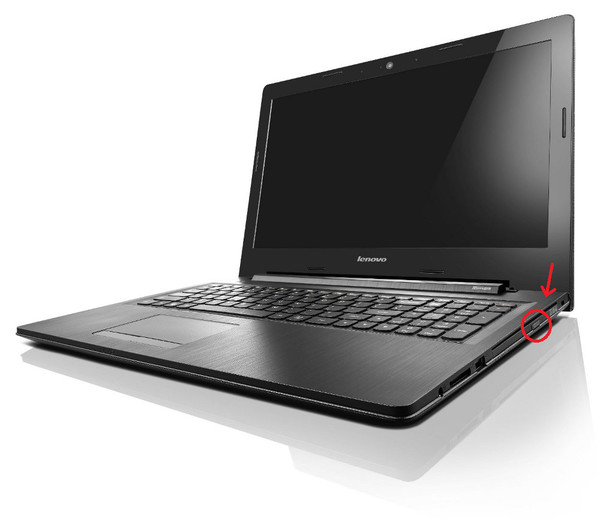
Usually the optical disc drive is located on the side of the laptop and has a button for opening. If on the side panels you did not find the buttons and even the inscription DVD so there might not be a drive on your laptop? It happens that the bundle is not the one stated in the store, and you just did not notice it when you bought it. Then on the installation site of the drive you will have a stub, sometimes it is confused with the drive itself. And you will have to install the drive of the disks yourself, having bought it first.
It happens that there is a disk drive in the laptop, but the opening button is on the case in another place, and it is designated as follows:
Another possibility is that the disk opening button is among the functional keys of the laptop and works in combination with the Fn key. Such a function key should also be indicated by the sign:
Software discovery methods

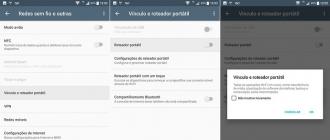
If in the menu "My Computer" you do not see the " DVD drive» , although you know exactly what it is, the reason may be that the display of optical drives is disabled in the system. This is especially true in Windows 8.1 and Windows 10.
They believe that such drives are already morally obsolete and there is no need to display them. The situation can be corrected if you record in the register operating system. How to do this on the page
At one time, CDs and DVDs were the most popular and convenient media. Gradually, the whole world departs from the use of disks, making a choice in favor of USB-drives or cloud services storage of information. However, despite this circumstance, some users still actively use CD and DVD. Of course, it is not always possible to avoid problems when using disks. In addition to the integrity of the media, it is very important that the drive works. But unfortunately, cases when it simply can not be opened are not uncommon. How to be in this situation? In this article, we'll take a closer look at how to open the laptop drive, if it does not open.
There are several reasons for this failure. It could corrupt the button out of order, or the mechanism pushing the slot broke. In more severe cases, the problem may be in the board or an improperly inserted disc.
Solution
Method 1
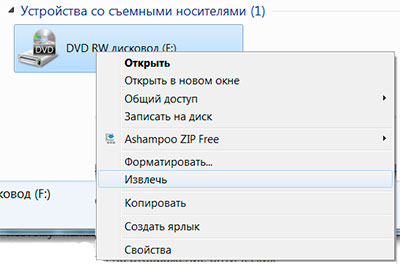
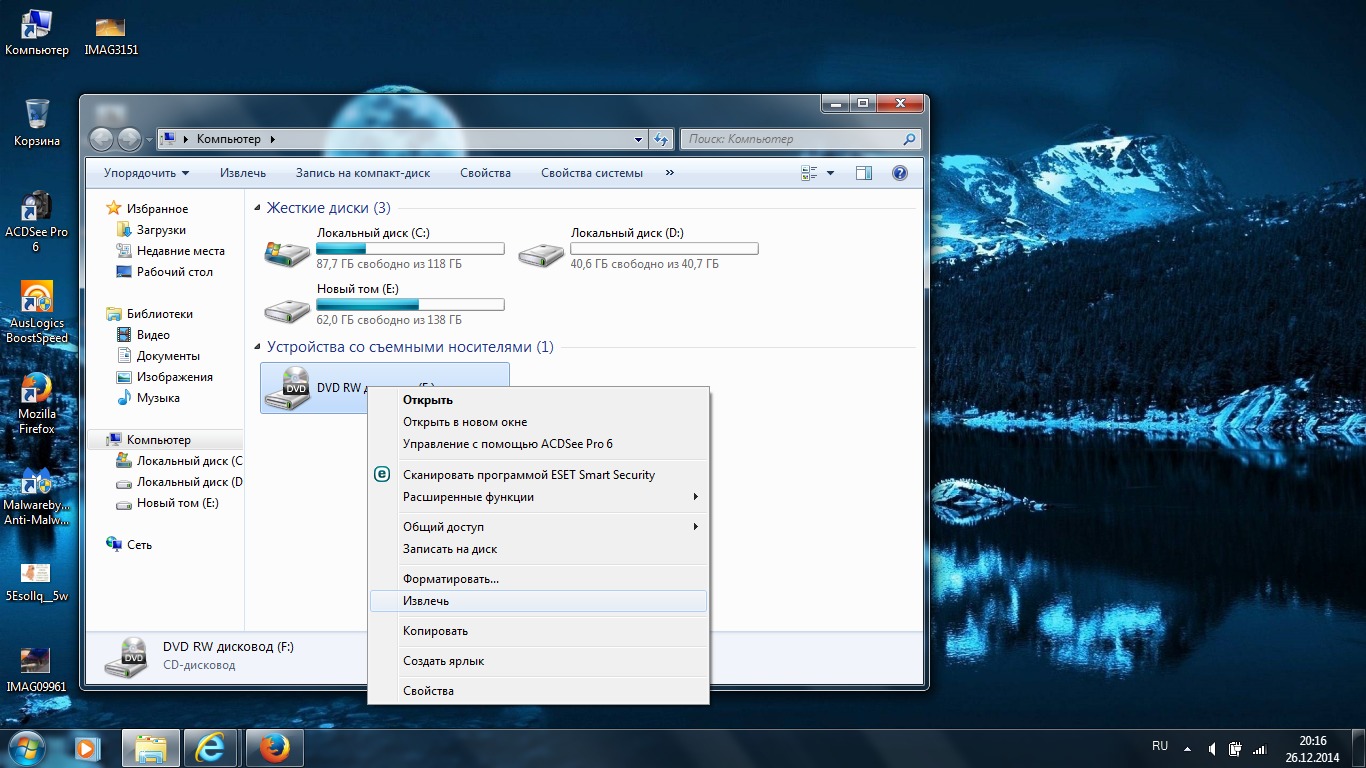
It starts with an attempt to open the drive through. Go to My Computer and right click on the optical drive. Select "Extract" from the list that appears. If this method did not solve the problem, use the following.
Method 2
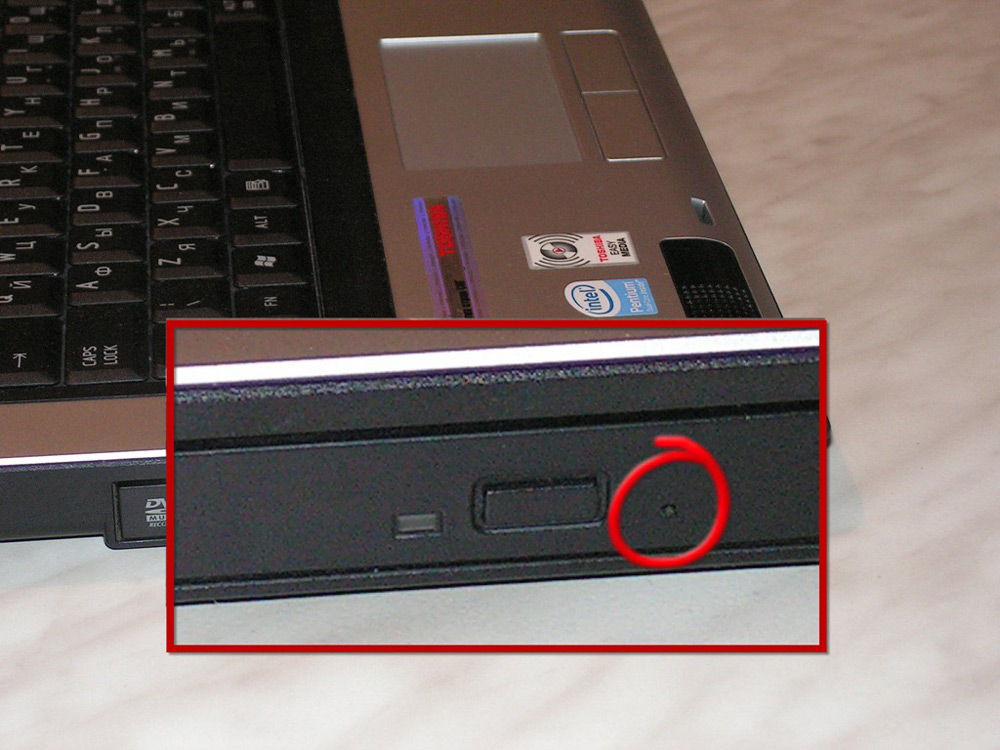
Not everyone knows that any drive is equipped with a special emergency hole, inside of which is hidden the button for opening the drive. The principle is the same as the Reset button on the Wi-Fi router. Note that it's better to do this when the computer is turned off. If there is a disk inside, you risk damaging it when the PC is turned on. Take a pin, a needle or any other sufficiently thin object that allows you to press a button. After this, the tray should open slightly. Then you have to get it by hand. There is nothing terrible here, because it is absolutely not difficult. In the event that this option did not give the desired result, we proceed to the next.
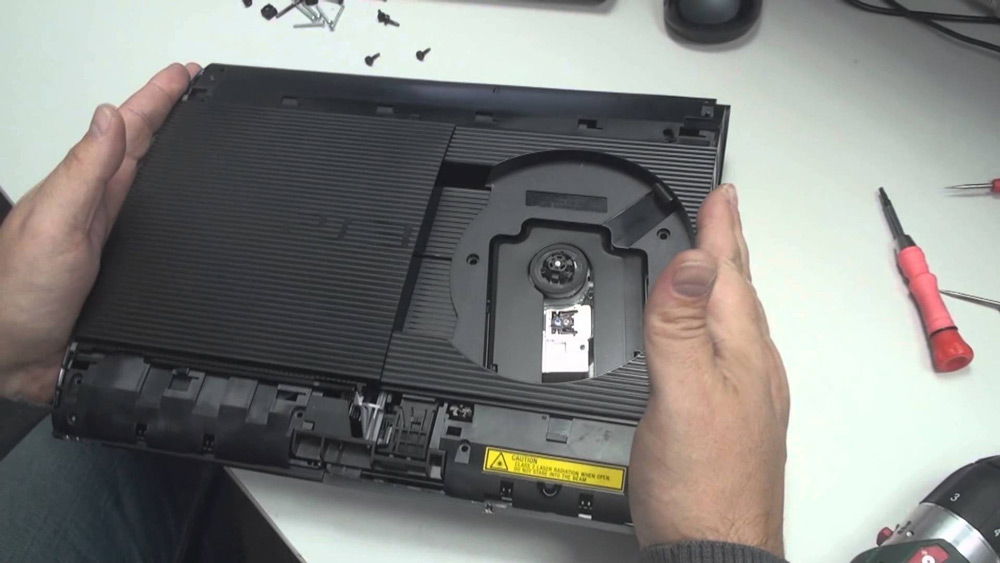
Method 3
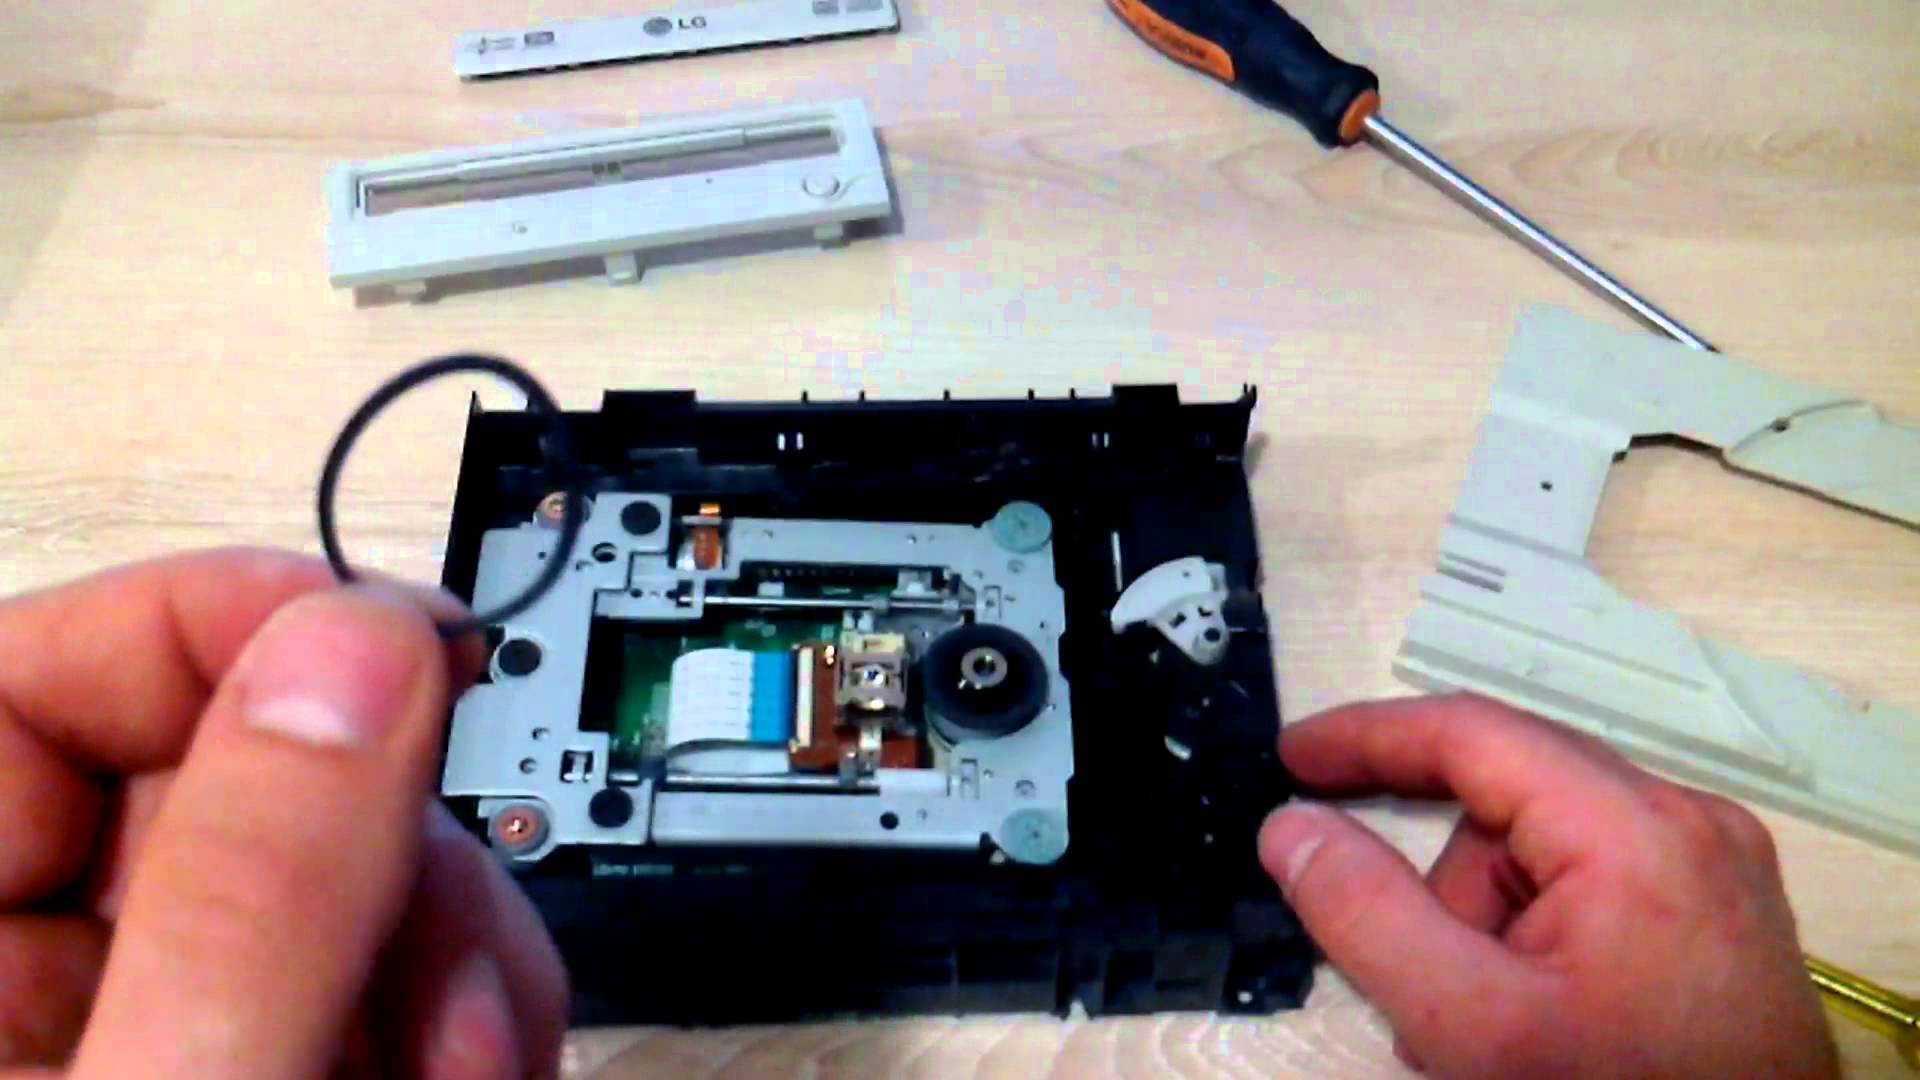
I'll have to resort to disassembling the case and removing the drive. The drive itself is very easy to understand. It is enough to unscrew a few screws. The first thing you need to get in front of the tray. To do this, use the emergency button. After that, bend the three special latches to remove the panel. Use a screwdriver to remove the front of the drive. On the top and sides there are special latches that need to be wrung out. Then unscrew the four screws located along the perimeter of the drive. Now, with a little effort, remove the metal cover. Done. You can get your CD. Assembly is strictly in reverse order.
Outcomes
Now you know how to open the laptop or computer drive, if it does not open. As you can see, such a problem is not at all difficult to solve independently at home, without resorting to the help of a master.
Write in the comments, whether this article helped you, share your experience with other users with fixing such problems and ask any questions of interest on the topic.
Today it is difficult to meet disk drives in laptops, but such models still meet. Sometimes with its opening, problems arise. How to open the drive in Lenovo laptop in this case?
Open Button
The easiest option is to open the drive with a special button. It is known to everyone, but it is worthwhile to raise this issue in more detail. If the device is purchased recently, it is important to pay attention to the presence of a rectangle and DVD inscription. This means that the model is equipped with a drive. It is worth noting that this button can be placed not only on the right side of it, but also in another place. If there is no floppy drive, an ordinary stub is installed in its place, which does not have any notation.

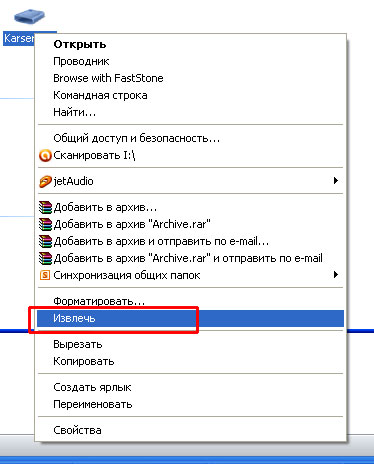
If there is a button, you should click on it, and after a few seconds the drive will open. Sometimes you have to click on it more than once to make the laptop react. The second option is to open My Computer and select the drive. Then, right-click to open the menu and point to "Open".
This is for traditional options, when everything is in order with the drive. But sometimes there are errors and failures in his work. As a result, the user does not see a reaction to their actions. How to open the drive laptop lenovo in this case?
In the event that the above actions do not yield any results, it is necessary to check whether the drive is used by the programs. To do this, go to the "Task Manager". You can also use the special program Unlocker. When it is installed, when you right-click on the drive, its icon will be displayed. At this point, you can see if the drive is using any components. If so, they need to be closed.
It is worth noting that in some cases, the operating system is able to lose connection with the disk drive. It does not even help rebooting the laptop. It is necessary to completely disconnect the device from the mains and remove the battery. After a few seconds, you can set it to its original location.
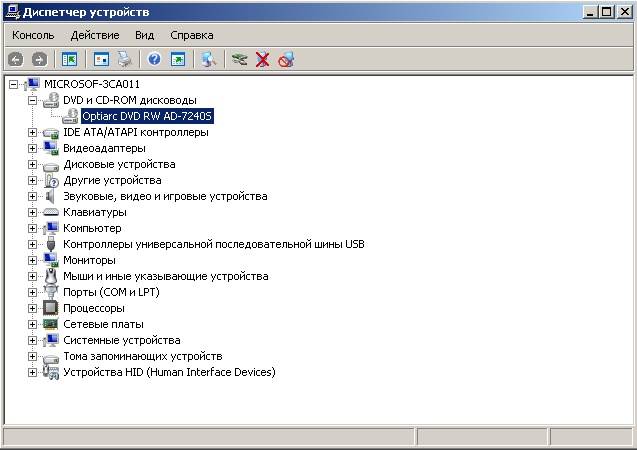
If My Computer does not display the drive, you should check in the Device Manager. When there are yellow icons or unidentified devices, you should install drivers that fit the model you are using. Sometimes, after updating the operating system, the drive does not open. In this case, the solution is to edit the registry. Usually, after this drive is opened.
Mechanical problems
In the case when everything is in the program plan, and the drive does not open, most likely, it just stuck. In such a situation, a special hole provided on the cover of the device can help. It is enough to insert a thin wire or other similar object into it and apply a little effort. When the cover opens, the device will open manually.
You can use a sharp object, but this is somewhat risky, since there is a possibility of damage to internal parts. If the cause is hardware failure (cable, trails, contacts, etc.), you should contact the professionals for help.
To learn how to open the drive in a laptop lenovo, you need to determine the exact cause of the failure. At first it is recommended to try to find the problem in the software part, and then just open the device by mechanical intrusion.
Many users who upgraded their computers and laptops to the latest operating system Windows 10, faced with the problem of disappearing from the My Computer section of the optical disc drive. If the drive is fully functional and its operability is previous versions operating windows systems, it becomes inaccessible in the last brainchild of Microsoft. If you are faced with a similar problem, then we offer you some possible solutions to this problem.
Try each of the following methods one by one.
Method number 1.
- Start Registry Editor. To do this, right click on the button Start In the lower left corner and in the menu that appears, select the line Execute. In the window that opens, enter the command regedit and click the Ok.
- In the opened Registry Editor on the left side of the tree-like directory, find the
HKEY_LOCAL_MACHINE \\ SYSTEM \\ CurrentControlSet \\ Control \\ Class \\ (4D36E965-E325-11CE-BFC1-08002BE10318)
- In the right part of the editor, find the keys UpperFilters and LowerFilters. If they are there, remove them.
Method number 2.
- Restart the Registry Editor.
- Find the section in it
HKEY_LOCAL_MACHINE \\ SYSTEM \\ CurrentControlSet \\ Services \\ atapi \\
- Create a new key in it Controller0If you do not already have one, select the type DWORD and assign it a value 1
.
- Close the Registry Editor, restart the computer, and verify that the optical drive is working.
Method number 3.
- The same as described in method # 2 can be done somewhat differently. To do this, run command line with administrator rights.
- To do this, click the button Start From the menu that appears, select Command line (administrator).
- At the command prompt, type:
reg.exe add "HKLM \\ System \\ CurrentControlSet \\ Services \\ atapi \\ Controller0" / f / v EnumDevice1 / t REG_DWORD / d 0x00000001
- Restart the computer and check the operation of the optical drive.
Method number 4.
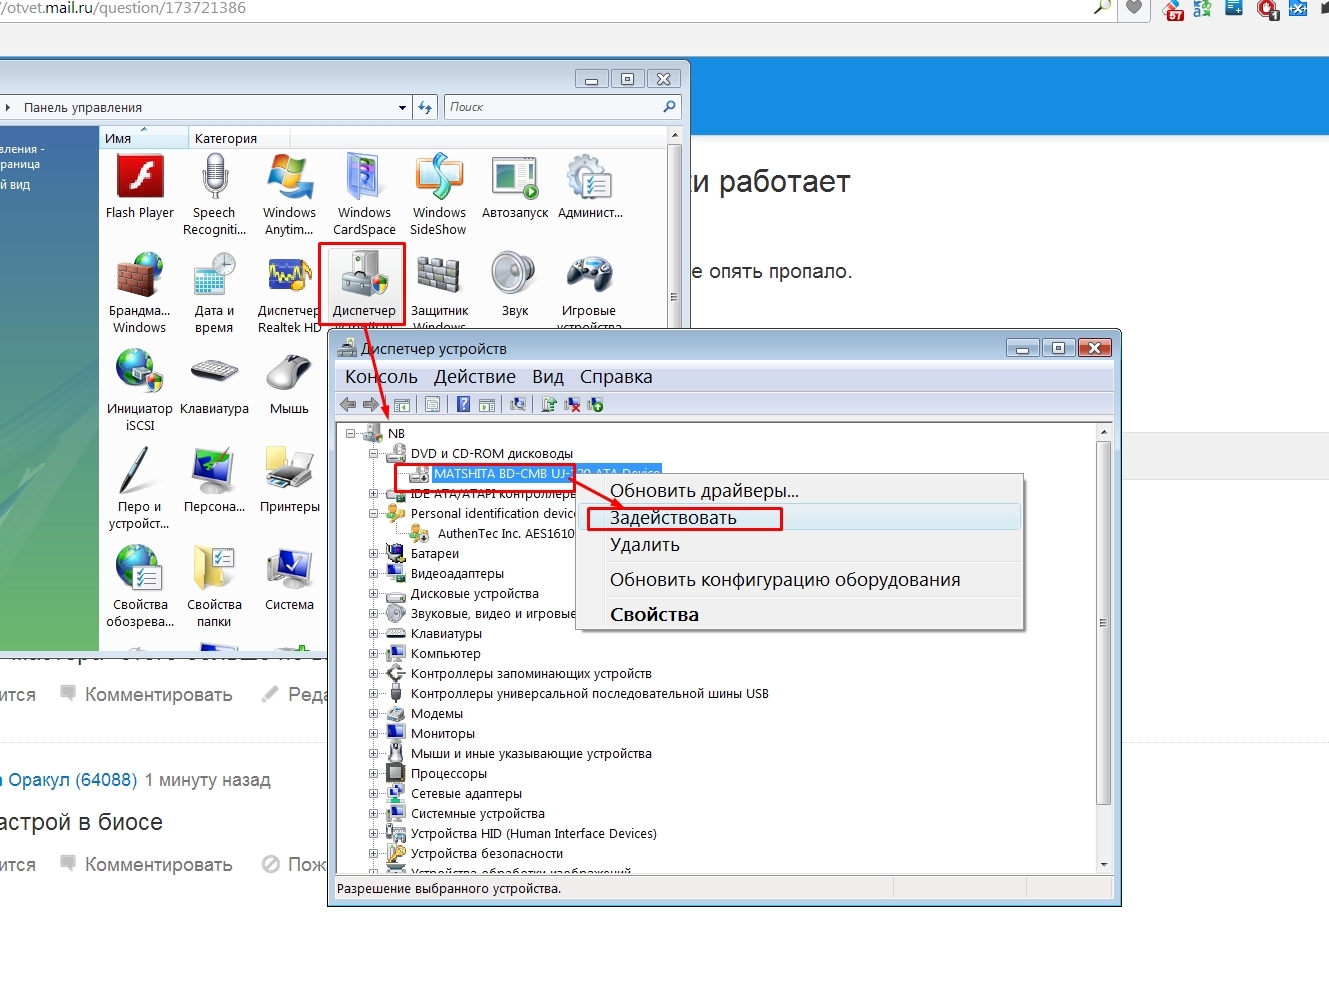
- Start Device Manager by typing in the command line devmgmt.msc and pressing the Enter button.
- On the menu View Device Manager, select the line Show hidden devices.
- Find your DVD / CD-ROM.
- Make a right mouse click on your optical drive and select the menu item Remove.
- After uninstalling, right-click again and select Update hardware configuration.
- The drive must be defined and when its drivers are installed, it will be displayed in the explorer in the My Computer section. You may need to restart the computer for the changes to take effect.
Despite the spread of cloud technologies and the widespread use of flash drives, disk drives are still present on Lenovo notebooks. With their discovery, sometimes there are problems that several simple actions. We will not be able to talk about every possible breakdown in one article, but we will try to give some advice. The drive is not insured against breakage, which can only be fixed in a special service.
The presence of the drive and the location of the opening button
If the laptop was purchased recently and the disks were not working yet, you need to check if there is a rectangle with a DVD inscription on the side. The eject button can be located not only on the right side, but also in another place of the case or on the keyboard. At the place of the drive, in the absence of the drive, there is a stub without designations. In this case, it is necessary to check the Lenovo laptop's hardware, check the documents.
If the button is available, it is enough to click on it, sometimes several times. Or open the "My Computer" icon on the desktop and select the drive with the right mouse button, click on the "Eject" item.
Software errors
If these actions do not help, a check is made to use the drive by some program. To do this, you must call the "Task Manager" by simultaneously pressing the Ctrl, Alt and Del keys. If you can not find such a process, you can use the software Unlocker. After installing it, when you right-click on the drive, the program icon should appear. This item shows which components use the drive and helps to close them.
There are utilities for emulating virtual disks, creating icons for nonexistent optical drives. When using them, it is important not to mix up the labels. And if the error occurred after the start of using them, you must completely remove them or roll back operating system, using the recovery point.
Sometimes Windows loses its connection with the drive drive, and this state is maintained even after a reboot. In this case, helps to completely disconnect the laptop from the network and remove the battery for at least ten seconds. Open optical drive you can before the operating system boots.
If the drive does not appear in the My Computer folder, you must check Device Manager for components with yellow icons or unidentified devices. If they are available, drivers for a specific notebook model are installed from the official website of the manufacturer. After windows Updates may stop seeing the drive. The solution to this problem often lies in editing the registry, after which the device starts to function normally.
Mechanical failure
If everything worked fine before, and the drive itself is displayed in the task manager and the "My Computer" folder, it may be jammed. For such a case, a special hole is provided on the cover of the Lenovo laptop drive. It inserts a thin wire or blunt end of the needle, and if you make efforts, the drive opens and you can pull it out with your hands.
Another risky way is to open the drive cover with a sharp object (it needs to be pinched and try to push it out). Hardware breakdowns associated with damage to trains, cables, contacts, etc., require professional repairs.