Instruction
In case you have a multilingual version installed operating system, open the control panel of your computer and go to the “Language and regional standards” setting, then go to the “Languages” tab. Click on the "Options" button and use the menu on the right to add the Ukrainian layout for your keyboard. Then apply and save the changes.
You can also set up a special command for switching, which would differ from the usual layout change mode. In the same menu, you can delete those language layouts that you do not use when using a computer - just select them in the list and click on the “Delete” button in the right part of the window.
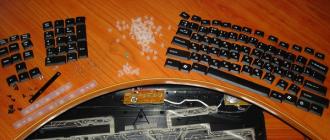
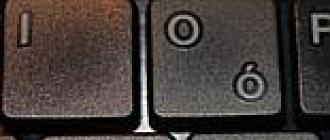
If there are no Ukrainian characters in your keyboard, change it, learn the Ukrainian layout with the help of special programs, or purchase special replaceable stickers for keys with Ukrainian characters. They can be purchased at online stores and points of sale of computer equipment or make yourself.
When using the Ukrainian layout, it is also quite easy to do without all this, if you have a Russian keyboard, since they differ little from each other. Download keyboard simulators you can on the Internet - they will help you quickly get used to the new input mode.
If your version of the operating system is not possible to add the Ukrainian layout, install another windows version. It is also possible to install additional software to support language settings, but for this layout, they are rarely relevant. The next time you install the operating system during configuration, select the support for the language settings you need in the future; also, if necessary, specify the Ukrainian interface language.
The inscriptions on the jars with spices and pickles or the roots of folders, the marks on the boxes with materials for needlework - for all you do not need to use paper and glue. It will be much more convenient to use stickersmade with a printer and self-adhesive paper. In addition, in the same way, you can make souvenir stickers to please the child with the images of the characters of his favorite cartoons.
You will need
- - laser or inkjet printer
- - self-adhesive A4 paper
- - picture to create stickers
- - graphics editor
Instruction
Open any well-known graphics editor, for example, CorelDrow.
Determine the approximate size of the labels you need, as well as how many labels you want to place on one sheet of the format you need, for example A4. In order to make it easier for you to deal with this, take a blank sheet and draw on it a rectangle of the size you would like to see the sticker in. Or, measure the item for which the sticker is intended, for example, a spice jar. Suppose you need a 5 by 5 cm sticker.