iCloud.com is Apple's cloud-based file storage. Available online since 2011. Provides the ability for users to access their files (audio, video, photos) on any device. Including from a computer (Mac, PC) and from mobile gadgets based on the iOS operating system (iPhone, iPad).
IKLAUD registration takes place using the Apple ID. The owner of the iCloud profile is provided with free 5GB on the company's server (for storing content, electronic correspondence and backups).
There are two ways to register for a service: on a computer and an iPhone (or another Apple mobile device).
Method # 1: on the computer
1. In any browser, enter icloud.com (offsite storage) in the address bar.
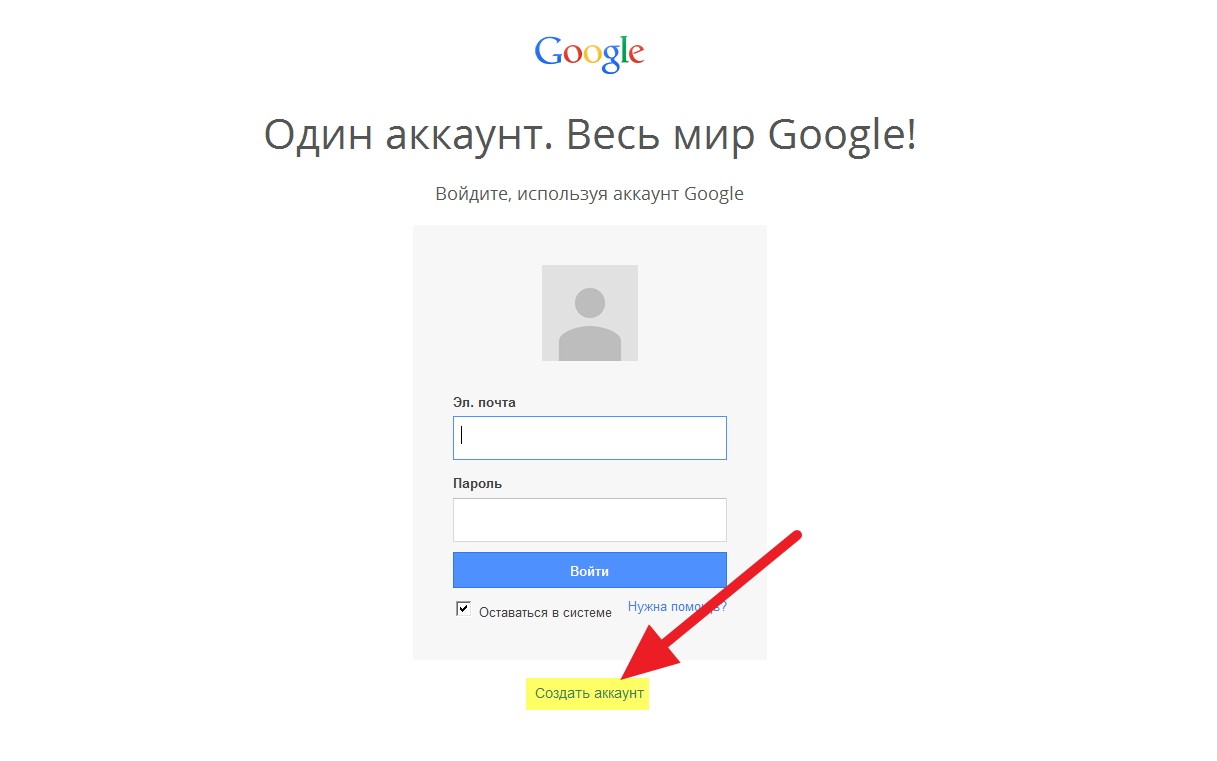
3. In the first line, enter the full address of your mailbox. For example, @ gmail.ru.
4. Create a password with a length of 12-15 characters and type it in the next two lines (2 times). When compiling, include in the combination not only letters of the Latin alphabet, but also numbers. To prevent attackers from hacking your iCloud profile.

5. Indicate your name, surname. As well as the date of birth in the format dd / mm / yyyy (day / month / year). For example, 02.23.1990.
6. Select three security questions from the drop-down menus (click the arrow in the field). Think up and enter answers to them in the corresponding lines. Try to avoid simple, standard phrases and words that are easy to find according to the meaning of the question.

7. Select the country in which you reside in the list.

8. Rewrite the code from the image to the next line.
Advice! If you can’t read the symbol combination, click on the “new code” option.
9. Click Continue.
10. Open your email (which was indicated on the form).
11. Click on the message from the iCloud service. The verification code will be indicated in the text.

12. Return to the browser on the Aiklaud page. To register in the cloud service, enter the code from the message in the windows (each one digit).

14. In the "Terms and Conditions" section, click "Accept".

Advice! To familiarize yourself with the service rules in detail, open the spoilers "Conditions ..." and "Politics ..." in the block with a mouse click.
15. Go to the created Aiklaud profile: click on the link “Start using ...”.

Everything! Now the service is available from a computer.
Method # 2: on a mobile device
If you already have an Apple account on your iPhone or iPad, to use the file storage, just activate the Settings → iCloud option.

And if there is no ID (an identifier is required to enter iCloud), to create it, follow these steps:
1. Open the device iTunes Store, iBooks Store or App Store.
2. Select any free application or content in the store (video, book, audio track).
3. Press the “Download” button in the slot 2 times in succession.
4. Before downloading data to the phone, the system will request an ID.
5. In the panel that opens, select the "Create ... Apple ID" item.
6. Specify the country of residence.
7. Accept the terms of service for the storage (tap “Accept” in the additional panel).

8. Fill out the profile form in the same way as when registering on the computer (see method # 1).

After sending the data, you can upload content to the storage from your phone.
Enjoy using iCloud Cloud!
Android and iOS are extremely reluctant to take steps towards each other, so such basic things as access to online storage or data transfer often have to be done using third-party applications. This also applies to opening iCloud on an Android device: you can access the service from an iPad, iPhone, Mac, PC, but Android devices remain outside the list of allowed.
A full-fledged separate iCloud application for Android does not exist, so for each operation, whether transferring contacts, synchronizing the calendar or copying files, you have to look for a new way. Theoretically, the solution could be to use the iCloud web interface. It is available on Mac and PC, but when you try to access icloud.com from an Android device, you’ll see a notification that the browser is not supported. Interestingly, on Windows you can use not only the web version, but also a separate application that is configured the same way as on devices from Apple. At the same time, Android remains a completely isolated environment, with which it is very difficult to establish a connection from iOS or Mac OS.  If you search for applications that work with iCloud on Google Play, you will only find programs that perform strictly defined functions:
- Sync for iCloud - to synchronize the calendar.
- Synchronization for iCloud Mail - synchronization of the mail service.
- Sync for iCloud Contacts - sync contacts.
If you only need iCloud to transfer contacts or synchronize the calendar, then the functionality of these applications will be quite enough. To synchronize e-mail, you can completely do without third-party software. All you need to do is set up your email client on Android.
Set up iCloud mail on Android
Typically, two clients are installed on Android - Gmail for Google Mail and Email for other email services. To configure receiving emails from iCloud, use the built-in Email application.

- Email - Repeat the iCloud email address.
- Username - part of the email address before @ icloud.com.
- Password - repeat the email access code.
- Server - imap.mail.me.com.
- Type of protection - SSL or SSL with the acceptance of all certificates.
- Port - 993.
The IMAP path prefix is \u200b\u200bnot required. After entering all the data, click "Next" to start setting up the SMTP server.
- The address is smtp.mail.me.com.
- Username and password are the same as in IMAP settings.
- Security - SSL or TSL.
- Port 587.
If prompted for authentication, click Yes. After setting up, all letters from iCloud will be automatically duplicated in the Android email client. If the procedure turned out to be too complicated, you can significantly simplify the task of data synchronization using special applications - for example, myMail or [email protected] Mail They do not need to configure IMAP and SMTP separately, just specify the iCloud email address and password.
Other ways to access iCloud
If you are looking for how to access iCloud services from Android, not only for the sake of messages in the mail, but also to gain access to other data, then you will have to look for other ways to synchronize information. It’s not so easy to make iOS and Android friends, but there are still proven methods.
If you need to transfer contacts, you can use the built-in features of the Google Contacts service or transfer data as a vCard file. In the second case, you will first have to go to iCloud from the computer, export the data to a separate file, and then import it into Google services. The first method is much more convenient:

The only drawback of the method is that when conducting synchronization, some independent company gets access to the data. Therefore, many users ignore this method, preferring to transfer contacts in a file or use CardDAV applications.  CardDAV allows you to not only transfer contacts, but also enable their synchronization, that is, as soon as the data on iCloud is updated, similar changes will occur in the Android phone book. The main thing is to specify the server p02-contacts.icloud.com, Apple ID and enable synchronization only from the server to the phone.
ICloud stores not only contacts, letters and calendar entries, but also multimedia files. With their transfer, too, everything is not so rosy, but there are certain advances in the synchronization of content between iOS and Android. For example, if you want to combine music, use the Google Play Music app.  The service has a client for iOS, so you can easily access the tracks that are stored on iCloud. Another way is the Amazon Cloud Player app. He also has clients for iOS and Android, which can be combined into one account, resulting in access to a common music collection.
If you purchased content on a paid YouTube channel, you can easily access it from the official video hosting client on Android and iOS. Online services are generally the best way to view content. They work the same on any device without any special system requirements. 
Registering an iCloud account on iPhone 4S, 5S, 6, 7 will provide you with 5 GB for storing information for free. In addition to cloud space, use @ icloud.com mail (it can only be used on Apple devices). E-mail has evolved from a means of communication, into an integral tool of work, opening up great opportunities for the user.
This is cloud storage, a company service that provides device synchronization, stores user personal information, and allows you to use the “search for iOS device” function. The resource offers at registration 5 GB of free space. Get more storage for an extra charge. There are no ads on the service. The storage is fully adapted for the environment of iOS gadgets and OS X. To get rid of spam, virtual mailboxes are created - aliases.
Be sure to back up your iPhone data before restoring or updating the firmware. To create a copy means to protect user information from deletion. A copy is created according to the step-by-step instructions: connect the phone to the Internet (there should be a good signal). In the system settings, go to "iCloud". Move the toggle switch to the active position opposite the “backup” or “iCloud copy” ". Click on "create." Do not disconnect until the process is complete.
You can check whether a copy is created in the cloud storage section. Go to the "repository", "management". Specify the active device. A file with the date and time the copy was created is displayed here.
To automatically create backups: activate the “backup” toggle switch in the cloud storage section. Connect the phone to power. Turn on the internet. Lock the gadget screen. Make sure there is enough storage space for the data to be stored. The current copy is saved in place of the previous one. You can save any data, whether it’s video, pictures or contacts.
How to create iCloud mail?

For successful registration, you will need iOS above 5.0 for mobile devices, and OS X Lion 10.7.4 or newer. Create Email Address @ icloud.com on Windows OS does not work. Creating email is divided into two ways: from an iPhone and from a PC.
How to create icloud on an iPhone from a computer?
You can create a new email address through the system settings. In the search bar, enter “iCloud” and go to the section on the result of the search. Or click on the same section below the list. Click "Create Apple ID." Indicate the place of residence, personal information. Indicate true data, this will help in regaining access to your account.
When you see the item "Apple ID", set the marker next to the column "receive free e-mail in iCloud." Below, in the column of the email address, enter the name part of the mail. Enter your personal data. If you want to receive mailing letters, put a bird in front of the mailing list item. Click "next."
Choose any three questions and answer them. It is better to write this information on paper. Save it in a secluded place, it will help if necessary to restore access to your account. Add a backup e-mail address. Additional mail provides an additional opportunity to restore access to your account in the future. Click "next."
Mail registration ends with a notification. Follow the link in the letter from the Apple service to activate your account. To confirm the backup address, specify the login (e-mail) and password. To use the new email address as an Apple ID, connect your account on your PC in the iCloud section of the system settings.
Windows is not suitable for registering @ icloud.com. Register your mail in advance on your Apple device. To access and use your mail, use the iCloud.com website through the mail application.
How to create mail on an iPhone?

On iPhone 4, turn on 3G or Wi-Fi, the signal should be good. Open the section "mail, addresses, calendars" in the system settings. Click "add account", at this point specify the type of mail. Click "create ID" and enter personal data in the fields. Indicate this information about yourself, this will verify your identity in case of loss of access to your account.
When you get to the “Apple ID” section, select “receive free e-mail in iCloud,” “next.” Enter the name of the new address in the column, click "next". Create a complex password of 8 or more characters. The content of at least one digit is required. There should be no repetition of three characters in a row. The password must be uppercase and lowercase.
Indicate three questions and write the answers to them. Record this information and save. It is useful to restore access to your account. Add an alternate email address. The address is useful for resetting the password if you forget the secret code. Place the toggle switch in the active position opposite the column about receiving information from the company's services, if you want to receive them. Read the user agreement, click "accept".
Confirm the additional address by clicking on the special link in the letter. To complete the activation, enter the mail name and password. This entry will be an identifier if you connect it to iPhone in iCloud. A feature of the identifier in the name of which is "@ icloud.com" is the inability to change the address in the record ID.
I can not change the name of the old box
When creating an Apple ID account from @ icloud.com, you cannot change the mailbox. A new account is created for the change. There is a loophole in this situation. Create an alias. You can create no more than three pseudo-addresses. Use this nickname as your email address and provide it to contact you. Automatically a letter sent to a pseudo-address is redirected to the main mailing address.
iCloud is a cloud storage with many useful features. Together with iTunes and other services, Apple compiles a rich user toolkit for owners of apple gadgets of all generations - iPad, iTunes, iPod.
The capabilities of iCloud are hard to overestimate. This is remote access to saved data under a single account, and backups, and automatic synchronization, and comfortable work with media content.
And all would be well. However, users during the operation of the service can be overcome by characteristic problems that often arise through their own fault: email is not verified, the application is not correctly logged in, on the site, due to non-compliance with security rules, it becomes necessary to unblock your account, etc. .
This article is designed to help you quickly deal with these and other troubles in the iCloud service, so that, as before, you can fully enjoy its technologies in your account.
Let's take a detailed look at the solution to each issue individually.
Login
It would seem that it can be difficult to set a username and password? But some beginners still manage to fall into a stupor even at this initial stage of use.
Log in to Iceland using a single Apple system identifier. That is, if you are registered in iTunes, the same account can also be used for authorization on iCloud.com.
To enter the service:
Online
1. On the main page of the Aiklaud site, in the first line, specify the login (mail address) specified in the account, and in the second - the password.
2. Press the “Login” button (right arrow).

4. Optionally, in your account, you can activate any subsection, as well as go to the profile settings.

In an application on a computer
1. If you have not already installed the iCloud client on your PC, go to https://support.apple.com/en-us/HT204283 and click the "Download" button.
2. Install the downloaded distribution package into the system:
- during the installation, under the text of the license agreement, click the radio button "I accept the terms ...";
- optionally connect the update module: by clicking the mouse, select the checkbox “Automatically update ...”;
- click the "Install" button.

3. Launch the application. In the panel that opens, specify the Apple ID (email) and password. Click "Login."

On phone / tablet

To change the storage synchronization settings, in the gadget:
1. Open: Settings → iCloud.

2. Move the sliders on / off. in the corresponding options (Mail, Contacts, Calendars, etc.).

What to do if the message “Account is not verified” appears at the entrance
Close the service settings panel, and then open it again and try to authorize.
Go to email and browse the Spam folder. Perhaps the mail service mistakenly blocked an email with a link to activate the profile.

If, for any reason, the verification message did not arrive by email, in the service’s settings panel, click the “Resend confirmation” button.
How to change settings and data in a profile?
1. On the cloud storage site, go to the "Settings" section.

3. In the tab that opens, on the site https://appleid.apple.com/ru-ru (Apple's official web resource), enter your Apple ID and password.
4. Make a change to the appropriate data sections (primary and backup email, password, device information, payment details).

To activate the editing mode in the field, use the appropriate links (Add ..., Edit ..., More ...).
How to unlock an account?
- "... disabled for security reasons";
- "Failed to log in ...";
- "Blocked ...".
It is necessary to restore access to the account, that is, unlock it, as follows:
1. Go to iforgot.apple.com/en.
2. Type your Apple ID in the box.

4. Select the method of confirming the rights to the account (via email or security questions): click the button next to the appropriate option.

5. To unlock the profile, specify the existing password, or reset it and enter a new key (about).
Attention! After several unsuccessful attempts to restore the identifier, the unlock service for the specified ID becomes unavailable. It can be used again after 24 hours. If two-factor authentication has been activated in your account, to unlock it, you will additionally need a mobile number or a trusted device.
How to delete a profile in iCloud?
On an iOS device
1. Tap the "Settings" section.
2. Open the iCloud subsection.
3. With the touch of a finger, activate the “Exit” function.
Attention! If iOS 7 is installed on your device, click on “Delete account”.
4. Run the “Exit” command again, and then select “Delete from ...”.
5. Enter the password to enter the Apple system profile.
If there is no iOS device
Method number 1
- Log into icloud.com/find under your Apple ID.
- Go to the device panel.
- Tap "Erase".
- After data destruction, run the “Delete from account” command.
Method number 2
If you can’t regain access to content management (perform Method No. 1), you must create a new password for the identifier. Thus, in the event of a sale, loss of a device, its owner will no longer be able to delete the content stored in your iCloud account.
Successful service settings for you!