 Quite often, a computer or laptop is associated with errors and malfunctions in the hard drive. In this article, we will figure out how to check the health of a hard disk using Windows tools and specially designed programs.
Check for errors by standard means
This method is equally effective for Windows Xp, Vista, 7, 8 and 10. It is necessary:
If the notification “Windows cannot verify the drive currently in use” appears, you should click “Check Schedule”.
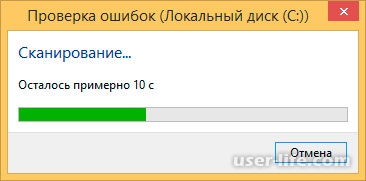
So, now we are doing a reboot, and when the system is booted, a test for working through the BIOS and correction of media errors will be launched. Its duration can range from 2-3 minutes to an hour, depending on the characteristics of the hard drive and its capacity.
Check hard disk for errors via the command line
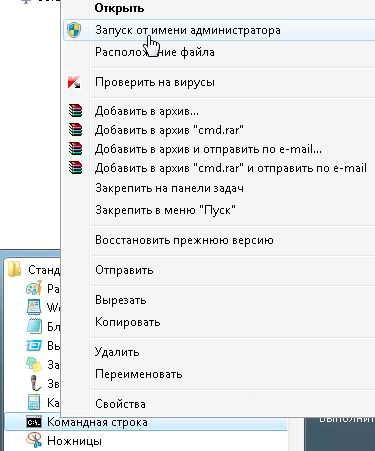
To start the scan, you must perform the following steps: go to "Start / All Programs / Accessories / Command Line". Click the right mouse button and click "Run as Administrator".
In the appeared window we execute the command “chkdsk partition_disk: check_parameters”. Keep in mind that this method works exclusively with disks that have been formatted in FAT32 or NTFS.
An example of a command is “chkdsk C: / F / R”. Its essence is as follows:
- Section C will be checked for errors;
- Found problems will be automatically corrected (parameter F is responsible for this);
- Bad sectors will be checked and information restored (parameter R);
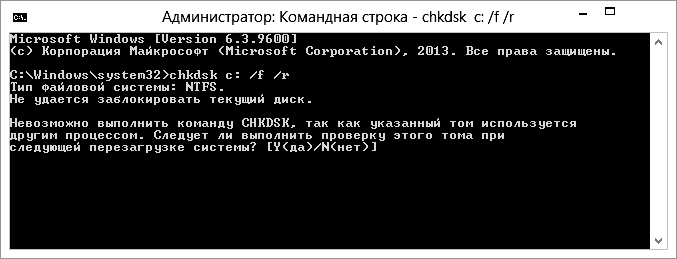
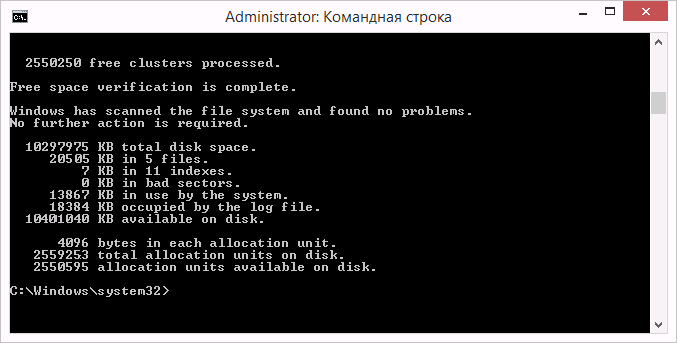
If you want to diagnose the drive used by the system at the moment, you will see a special notification. You will be prompted to perform the check at the next computer boot. To agree with this, press Y, for failure - N. As a result of the check, you will see information about the scanned data, the number of bad sectors and errors found.
For a complete list of parameters, run chkdsk with a question mark as a parameter. But if you need the usual check for errors and sectors, then the above information will be enough for you.
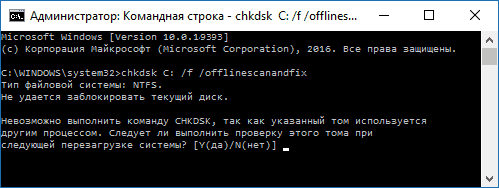
It happens that the errors found during the scan is not always possible to immediately fix, it is likely that this is due to the program running at that time. In this situation, an offline scan of the drive will be required: it is disconnected from work, diagnostics are performed, and then it is connected back. To do this, enter “chkdsk C: / f / offlinescanandfix” in the command line (С: - disk partition). If it is not possible to disable it, the check will be performed at the next reboot.
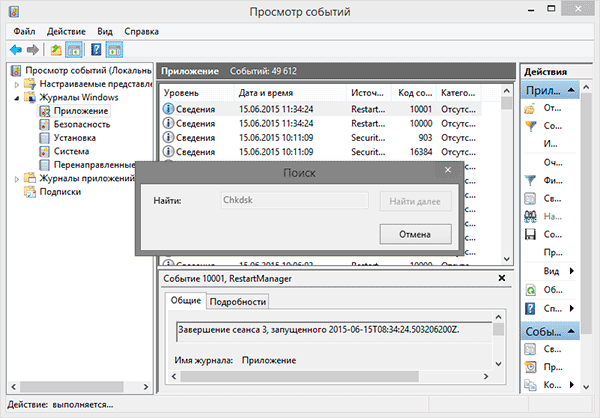
If necessary, after verification, you have the opportunity to examine the verification log. For this you need:
- Enter the Windows Logs / Applications;
- Right-click on Application / Search;
- Search for the word Chkdsk;
Software check
Of course, the above method is not always effective. Therefore, we consider a number of programs such as Victoria. They will allow you to conduct the most thorough analysis of the hard disk on a computer or laptop.
Victoria
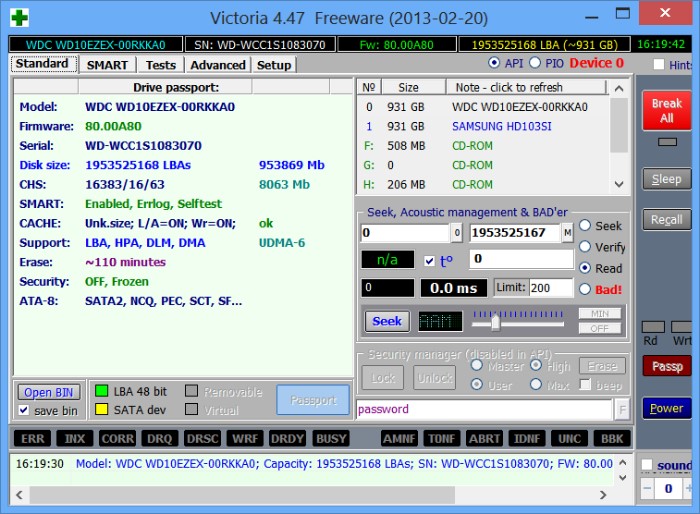
Utility for diagnosing and testing hard drive. It will help you not only to detect problems in his work, but also to eliminate them.
The program has a number of advantages and useful functions:
- Reads the hard drive's passport and provides detailed information;
- 5 diagnostic modes;
- Eliminates failures;
- Displays unstable areas;
- Hides defects;
- Evaluates media performance.
Victoria is one of the best to date. It is able to solve problems with bad sectors and quickly bring any type of hard drive into working condition.
HDD Regenerator
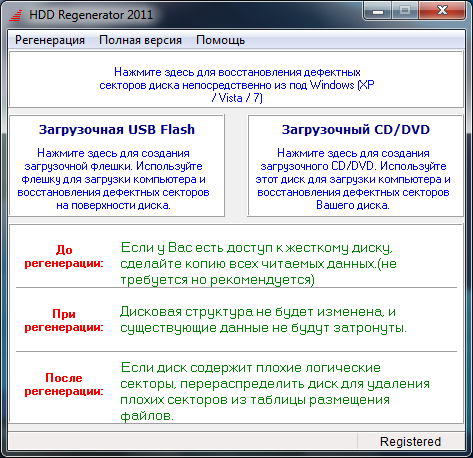
One of the most effective programs for assessing and troubleshooting drives. It allows you to get information on the current status of the SMART of the selected device and full control over it.
Among the main features are:
- Simple and intuitive interface;
- Full security;
- NTFS and FAT support;
- Pre scan mode;
HDD monitoring in real time;
That is, with the help of the regenerator, you can most effectively test the hard drive.
Testdisk

Designed to determine the status and testing drives. In addition to simple diagnostics, it also detects bad sectors and corrects all found errors. Its main functions include:
- Analyze the current state of the hard drive;
- Search for bad sectors;
- Recover deleted partitions;
- MFT fix;
Check external hard drives;
In addition, the utility has a number of functions that are associated with the recovery of deleted files.
Hitachi Drive Fitness Test
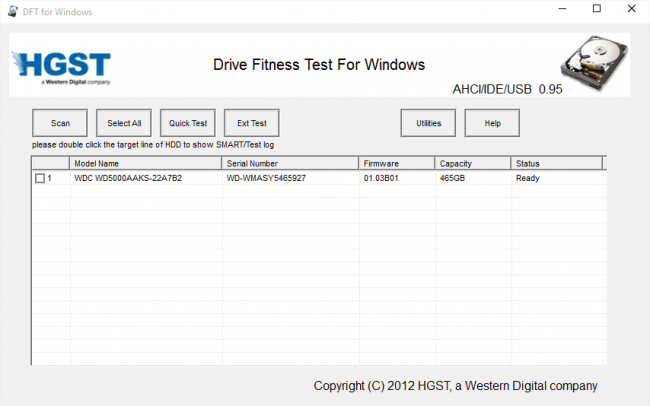
Excellent program designed to find and fix problems on the drives. It is universal, since any drives can be diagnosed. With it, you can very quickly find out the current state of the hard drive, as well as get more information about it.
Includes.
Hello! Sometimes the slow operation of the computer, and its hangup, is associated with errors on the hard drive (HDD). Today, we will step by step check our hard disk for such errors and do our best to correct them. I will use for this purpose both standard operating system tools and a third-party program called Victoria.
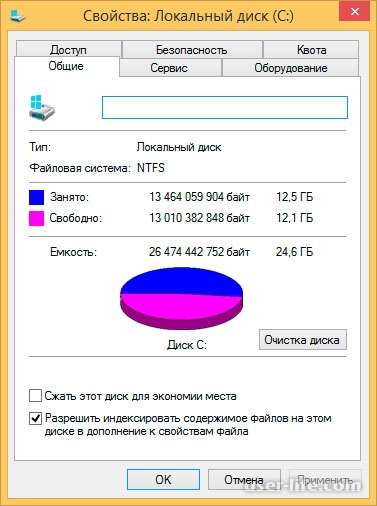
We check the disk for errors using standard Windows tools.
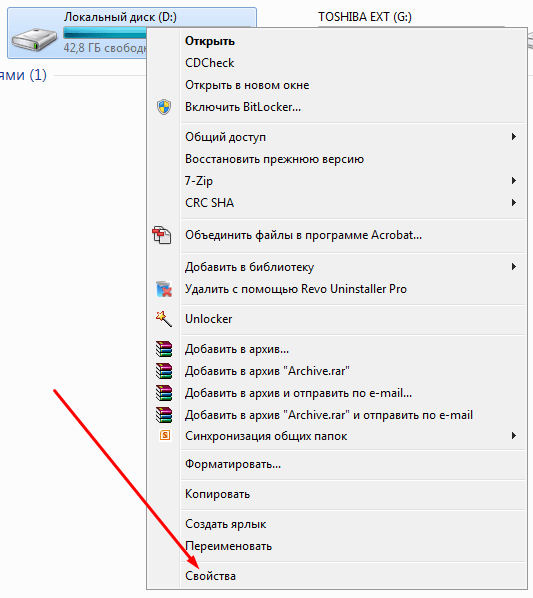
Enter the computer and select the disk you want to check. Then right-click on this disk and select "Properties",
Here we select the tab "Service" and click "Check",
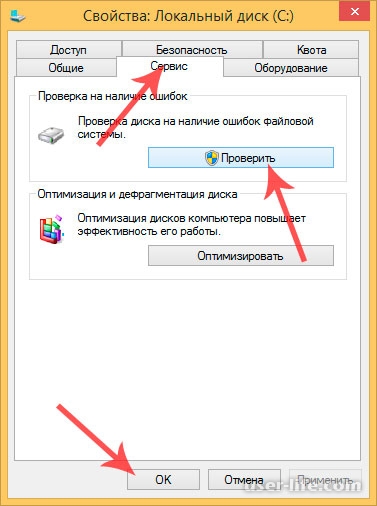
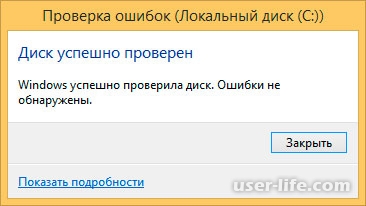
Upon completion, the following window will pop up:
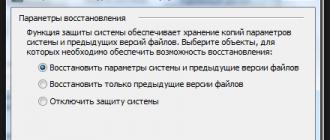
If you have a seven, then after clicking "Run check" on the system disk, a window will appear,
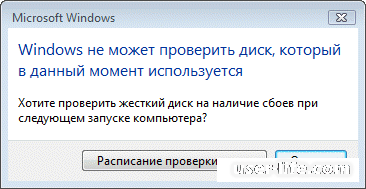
Click "Check Disk Schedule". After that, you will need to restart your computer, and it will automatically scan the hard drive for errors. At this point, nothing needs to be crammed, upon completion the computer starts up and you will see a familiar desktop. But, once again, this is for those who have Windows 7 installed.
Check the disk for errors using the program Victoria
Victoria is a very useful and functional utility, thanks to which you can check Serial ATA and IDE hard drives for errors. The program is one of the best of its kind, so we will use it to assess the actual technical condition of the hard disk.
First you need to download the image of Victoria from the developer site http://www.ihdd.ru/victoria. Download and unzip this archive and see the image,
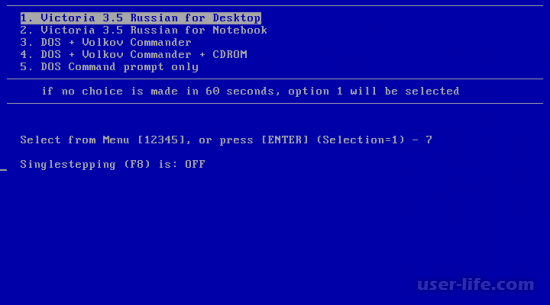
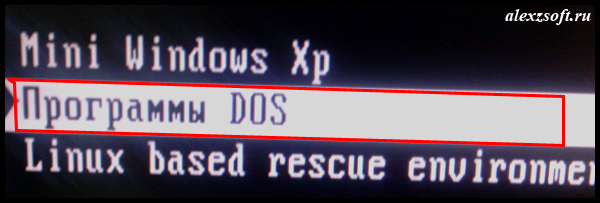
Now you need to burn this image to disk. If you do not know how, you can read the article. After we boot from this disk and select the boot mode (the first option),
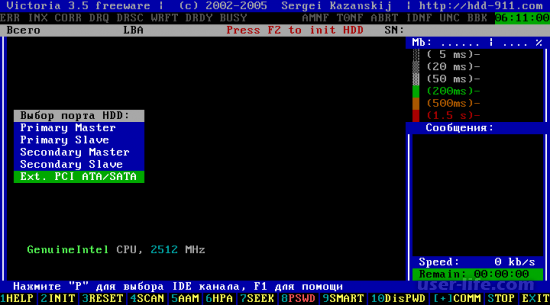
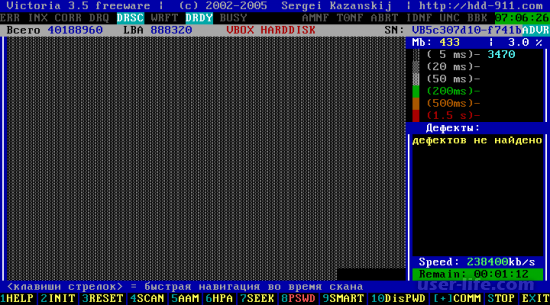
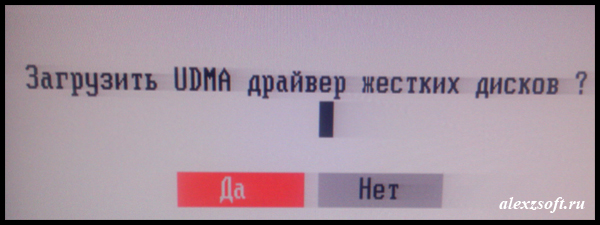
When the program interface has started, press the F2 function key, so that the program automatically finds the hard disk. If this does not happen, then you need to manually force to find the disk. Press the P key on the keyboard. If your computer has hard drives installed with a SATA interface, then in the Select Port menu select Ext. PCI ATA / SATA. To move up or down, you need to respectively select a key on the keyboard up or down, the choice - the "Enter" key.
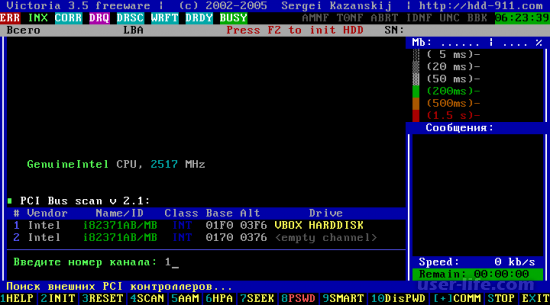
After we select the disk that needs to be checked. To do this, just specify the number and press "Enter"
(banner_ssilki_tekst)
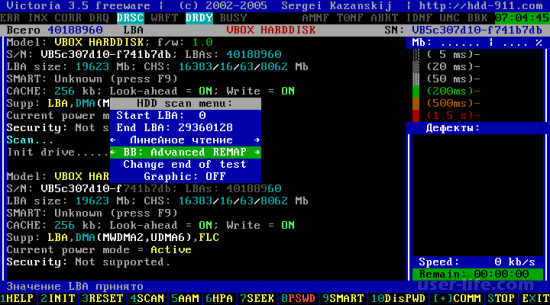
Personally, I have the number 1. To check the surface of our disk, you must press the F4 key. The HDD scan menu window will open, where we will specify the disk scan options. The program will automatically offer to scan from the very beginning (0) to the end (29360128). Here we do not touch anything. We'll keep the linear reading, because thanks to it the diagnostics of the disk will be realized as accurately and quickly as possible. BB = Advanced REMAP, I recommend to choose, because the test in this mode will be of high quality and errors will be automatically corrected without data loss. Click "Enter,"
At this stage, the hard disk check begins with the correction of "bad" areas. It’s not exactly how long this process will take. It can last from 10 minutes to tens of hours, depending on the size of the hard drive and speed.
When it's over, pull the disc out of the DVD-ROM and reboot the system.
The above methods of checking the hard disk for errors and correcting them are the most effective, so use them and recommend them to your friends.
If you delete any important files, then do not despair because they can. Good luck!
Comments to entry: 42
Hello dear readers, today I would like to show you how to test hard disk and will help us, and to be more precise broken.
I will say one thing, if you are looking for a program from under Windows, then you are wasting your time! The program for testing hard drives can only test, but in no way fix your hard drive from broken sectors. And this program is able to both test and fix your hard disk.
I often encounter such a problem when people start to lose information on the hard disk, the computer starts to slow down, hang, and then you have to test the equipment. Of course, the first thing you need to, but if it is in order, then practically the rest of the percentage falls on the hard disk.
So, consider a program that will help you. I will consider HDAT2 version 4.53, it has rescued me many times and not only me, I will not advise you on this bad.
First, download the program and write to a USB flash drive or disk, how to do this, you can see in the articles:
Now download the free image programs for testing and repairing hard drives:

The program for testing the hard disk
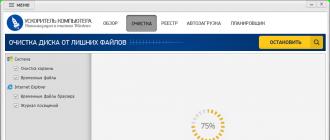
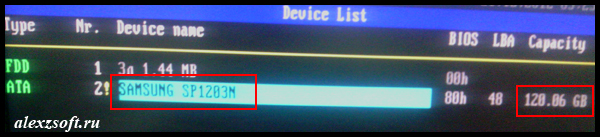
In general, if recorded, run ... I Hiren’s Boot CD 15.1 for me it looked like this:

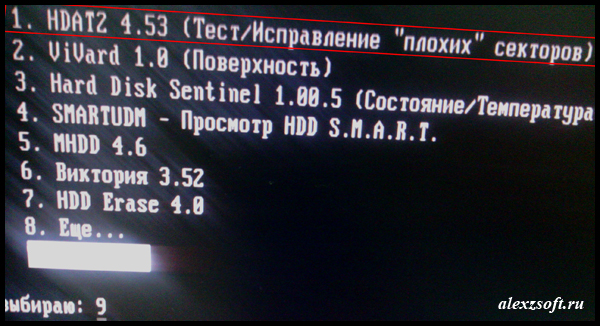
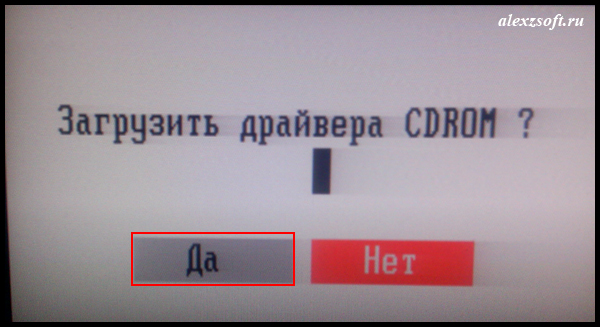
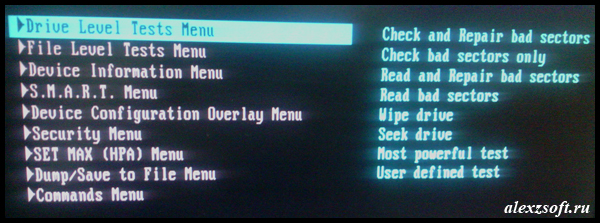
Now select Check and Repair bad sectors.
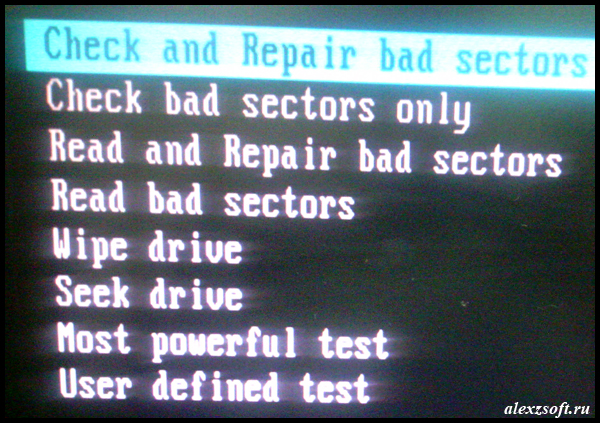
The program will start the test, progress will be visible in the form of percentages.

If your strip is completely blue, then this is good; if not, then at best, the damage will be software and hard drive testing program fix everything successfully. If not, you will have to buy a new hard drive.
I had a hard drive without errors and the program for testing hard drives produced the following result:
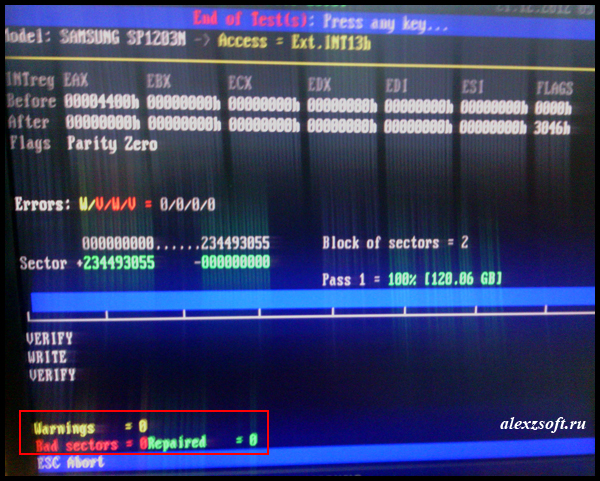
Yellow cells are warning, about the imminent malfunction of the hard disk sector 0.
The red cells that the sector is faulty are also 0.
And accordingly green cells, that sectors are fixed 0, since there were no broken ones.
This is how a good hard disk should be.
That's all, I will say one thing: best program for testing hard drives everyone has their own, but I recommended to use this, because Often she rescued me, even helped when.